
Zabbix 7 LTS Install and Setup with Nginx & LetsEncrypt SSL on Ubuntu 24.04

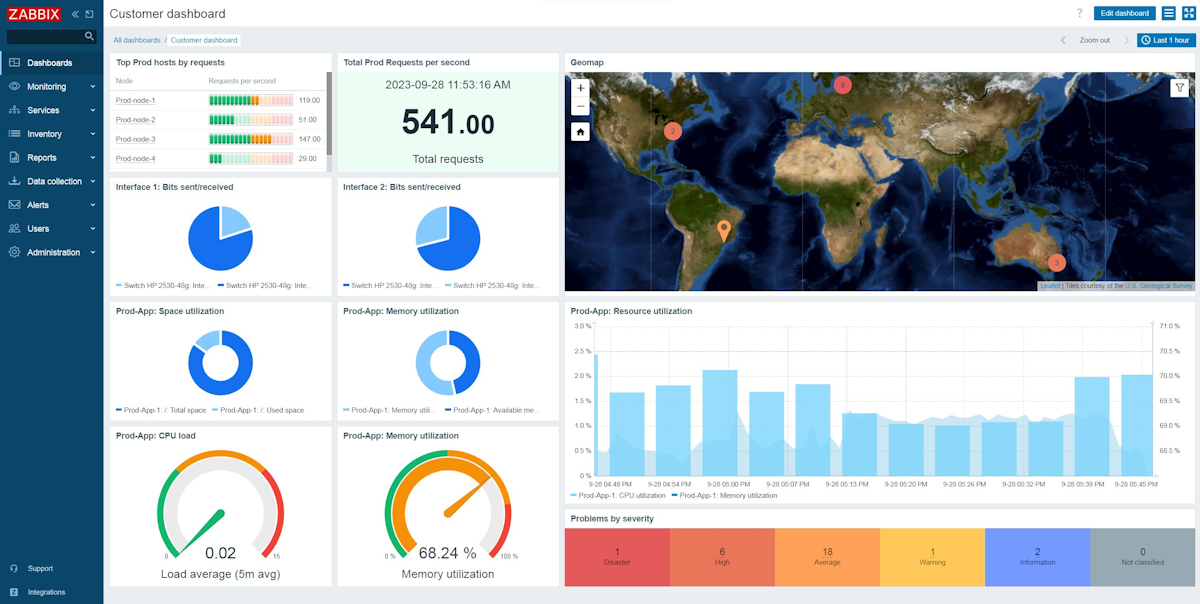
Zabbix 7 LTS is here, and its been a while since I checked out the Zabbix Platform and wanted to see the improvements they have made. Specifically one of the more popular and touted features of version 7 is the Web Synthetic monitoring, RUM type features. I have used other DevOp's platforms for this purposes, so wanted to check it out for myself. In doing so, I found the lack of documentation to do a full Zabbix 7 install on a cloud VM/VPS with NGINX specifically lacking anywhere online.
It seems to me that Apache seems to be the more popular platform being used by users of Zabbix, as well as the howto articles online, none of them having Nginx with LetsEncrypt SSL configuration. So I figured this would be a good opportunity to make an official and complete installation tutorial.
Prerequisites
This tutorial is going to be using the latest, just released version of Ubuntu Server, 22.04 and the newest Zabbix 7 LTS Release, that came out on June 4th.
You will need to have a Cloud or Local VM setup using Ubuntu 22.04 that is up to date, so make sure to "apt update/upgrade"before starting.
The other important part is when you create your Cloud VPS/VM, obtain or use your static IP to create a DNS A record with the subdomain or domain name you will be using for the Zabbix Web Frontend. Lastly, make sure ports 80, 443 http/https are open for SSL etc. So lets get started.
Installing Zabbix 7 base components and files
In this case we will have the Zabbix Server, Front end and agent and Nginx. In the later section we will be installing and configuring Nginx with LetsEncrypt using Certbot.
Install the Zabbix Repository and get the Zabbix 7 .deb installation files
Next Install the Zabbix Server, Frontend and Agent
Install MySQL as Zabbix doesn't actually install and start the database service for you
Make Sure MySQL is running before the next step
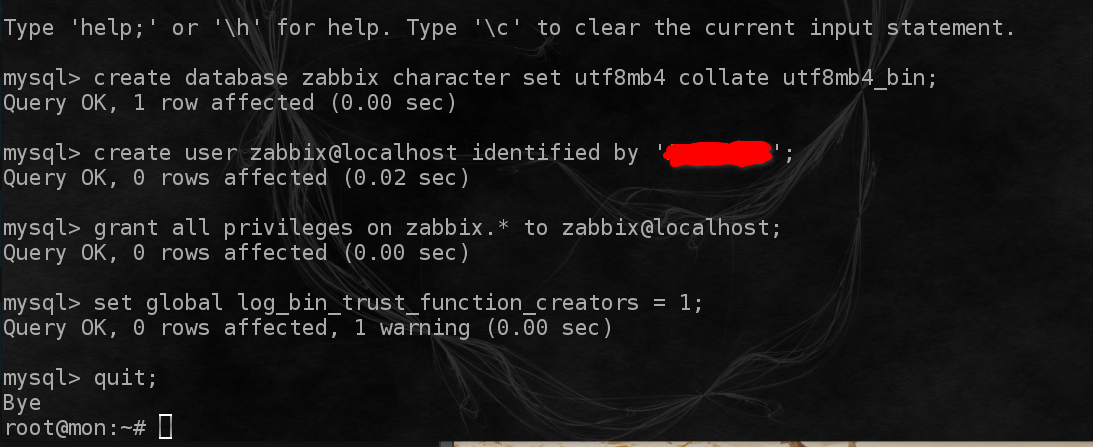
Create the initial database
It will ask for a password, pick a password of your choice
Once in the MySql Cli enter the following:
Import initial scheme and data. You will be prompted for the password you chose above
Note: Be patient it will look like its frozen and not doing anything, wait until it returns to the prompt.
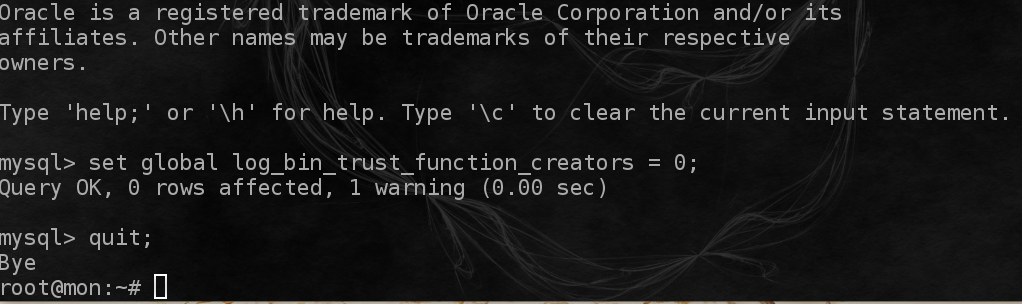
Disable log_bin_trust_function_creators option after import of scheme
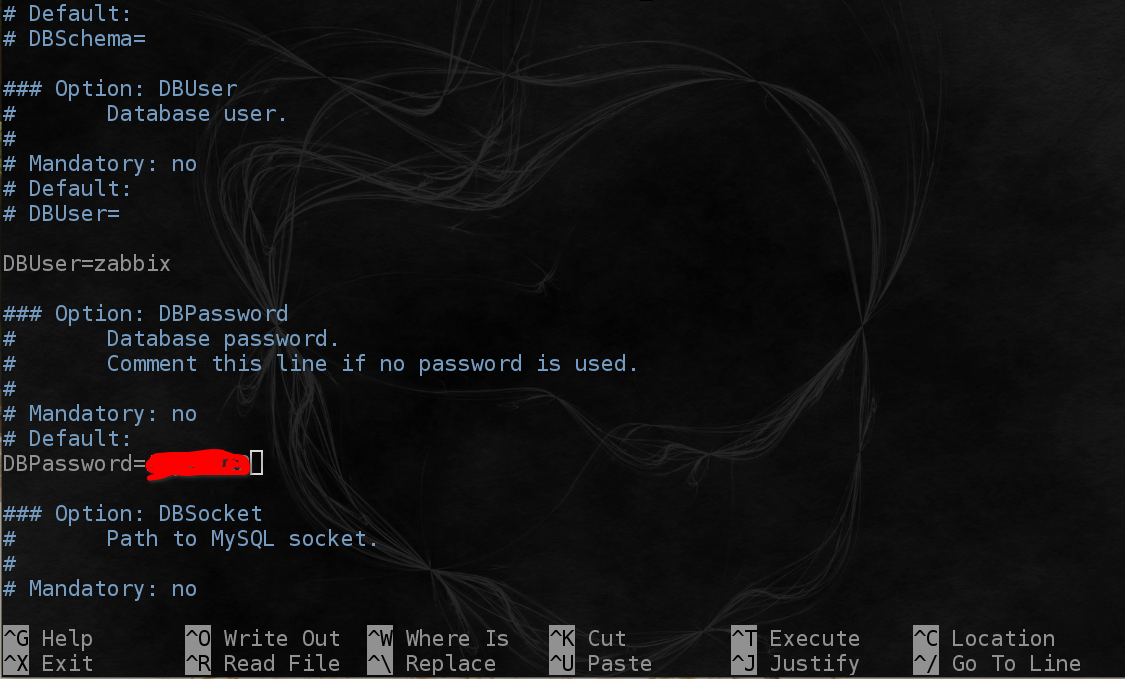
Configure the database for Zabbix Server. Edit the file located at /etc/zabbix/zabbix_server.conf . Find the "DBPassword=" statement that is commented out, uncomment and enter your password you picked earlier.
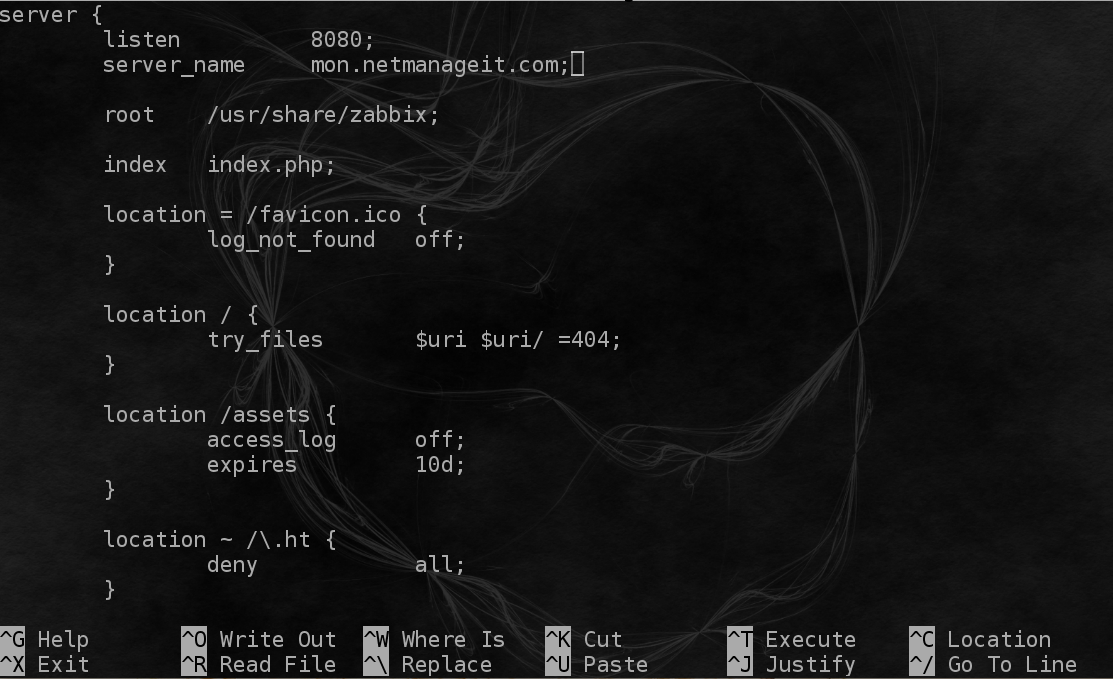
Configure PHP for Zabbix Frontend . Note: leave the listen8080; directive as is except for the uncomment, then change the server_name to your full DNS Domain record of the A record you setup at the start. In my case I am using "mon.netmanageit.com" as the Zabbix DNS Domain.
Edit the file /etc/zabbix/nginx.conf and uncomment the 'listen' and 'server_name" directive. Again, only uncomment listen directive, but do not change the content.
Start Zabbix Server and Agent Processes
Install Certbot and LetsEncrypt to automate obtaining your SSL for the domain and changing the nginx.conf file located in /etc/nginx/conf.d directory.
Make sure you didn't make any mistakes editing the nginx.conf files earlier.
Reload Nginx
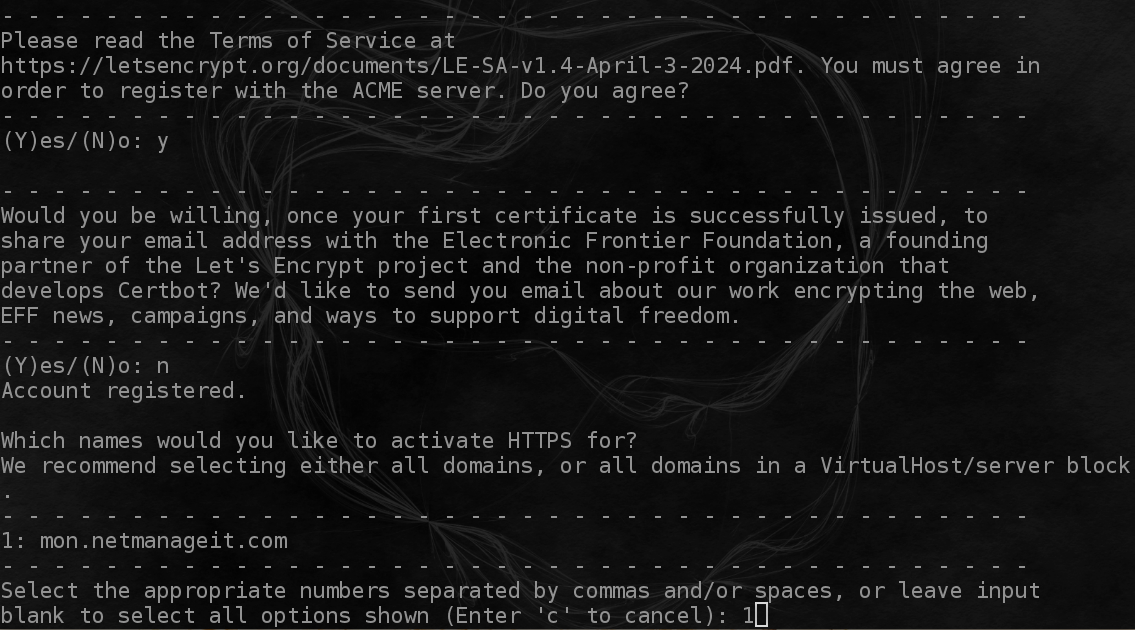
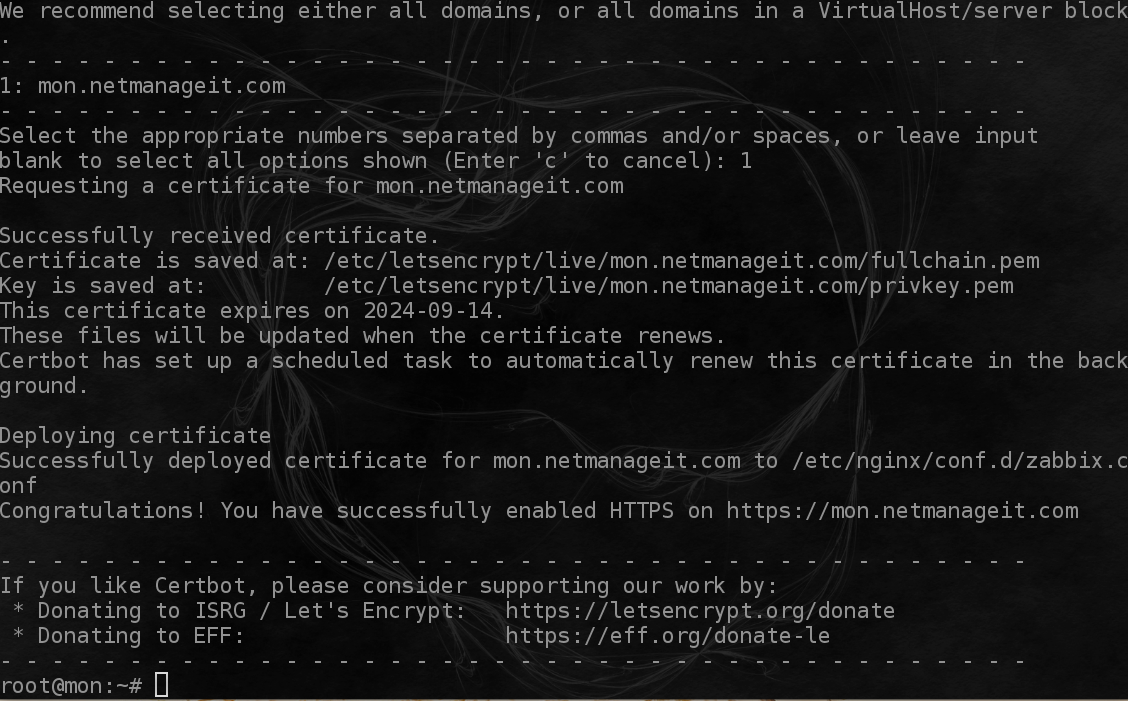
Launch certbot to automate the process of configuring and deploying SSL cert
Enter your email address used for domain communicate notifications, hit Y to terms, Y or N to sharing email addy. Then select the domain you configured earlier, in this case 1:
Note: Make sure you have configured your VM firewall to allow HTTP port 80 and Port 443 to all before selecting 1. Or it will fail to deploy.
Zabbix Login and Initial Configuration Wizard
Go to https://YOURDOMAIN.COM in my case https://mon.netmanageit.com you will be greeted with initial wizard to config.
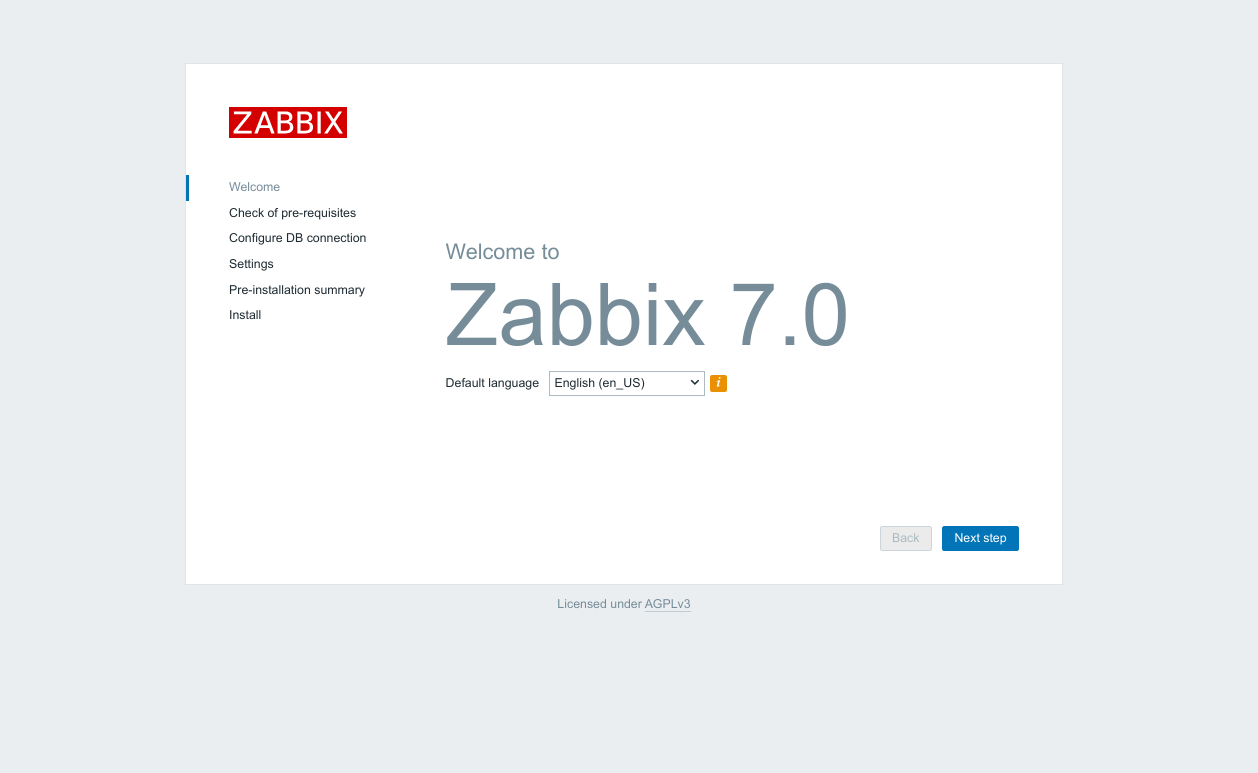
Click Next Step after all the checks pass, which they should.

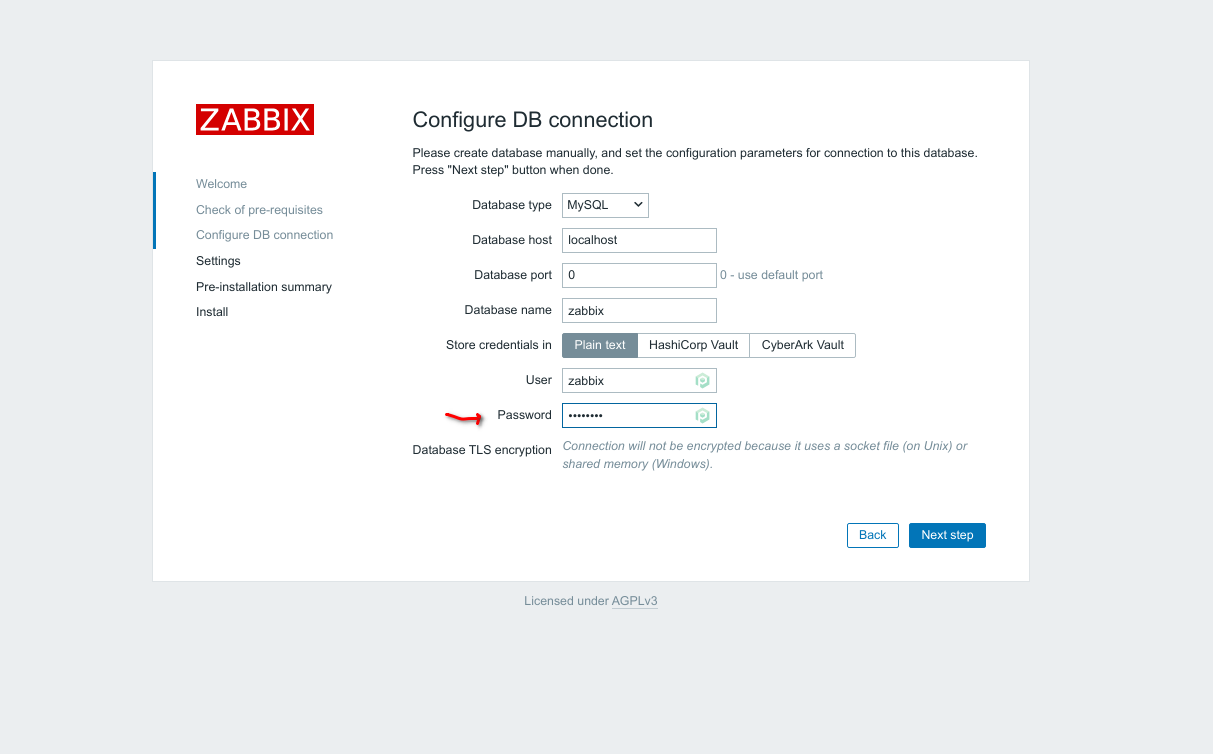
Next leave all the default pre-populated text, but enter your chosen password in the Password Field and hit "Next Step".
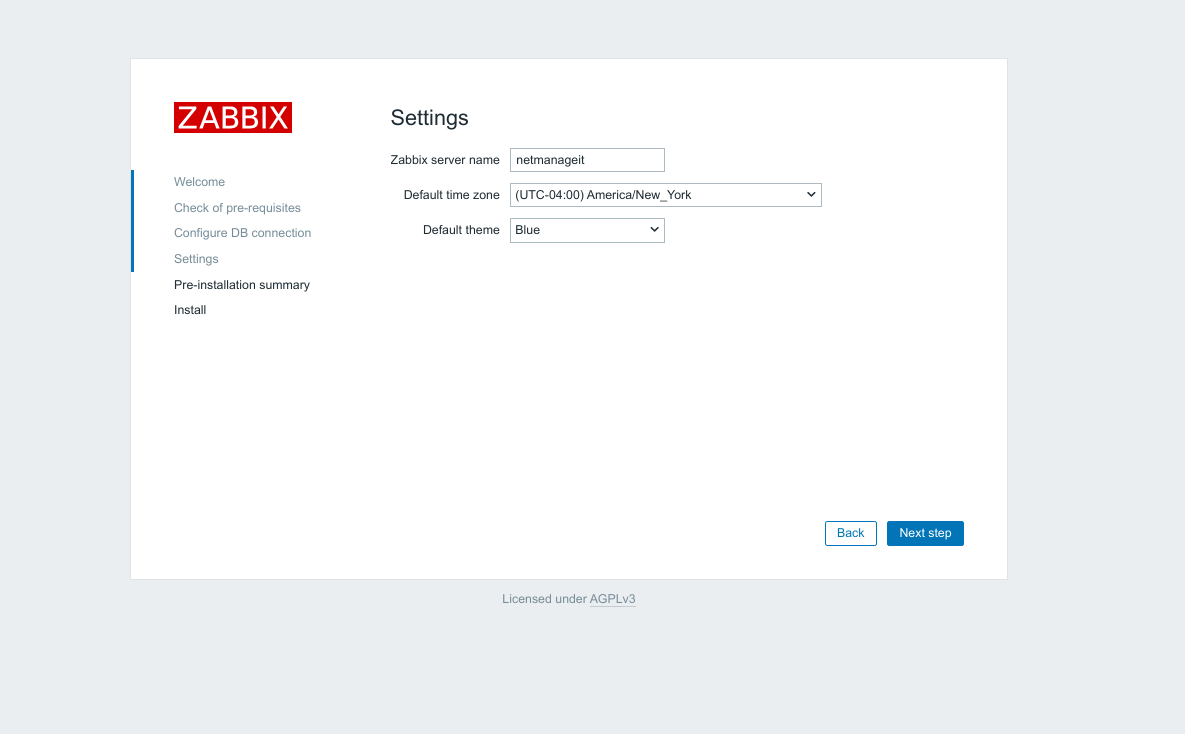
Enter a Name for your Zabbix Server Instance and pick your Time Zone
Hit Next to finalize and finish on the Summary Screen, you then will be presented with your initial login! Congrats! The default username is - "Admin" and default password is - "zabbix"
Securing your Zabbix Instance!
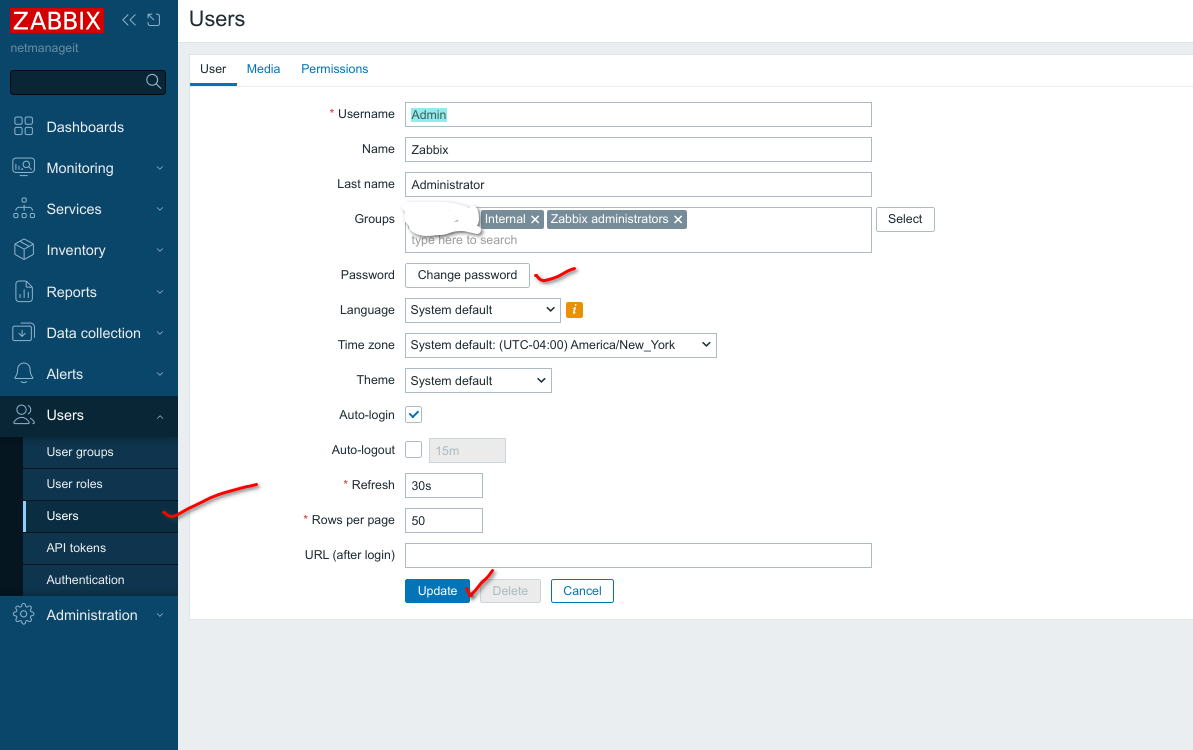
First, change the default Admin Super Users password from default.
Click on users, the default Super User, and then click the Change password box.
Zabbix has native 2FA built in, but it is a little confusing to activate. Not very intuitive at all, but here are the basic steps. Create a user group that will have 2FA functionality. In this case lets call it "2fausers".
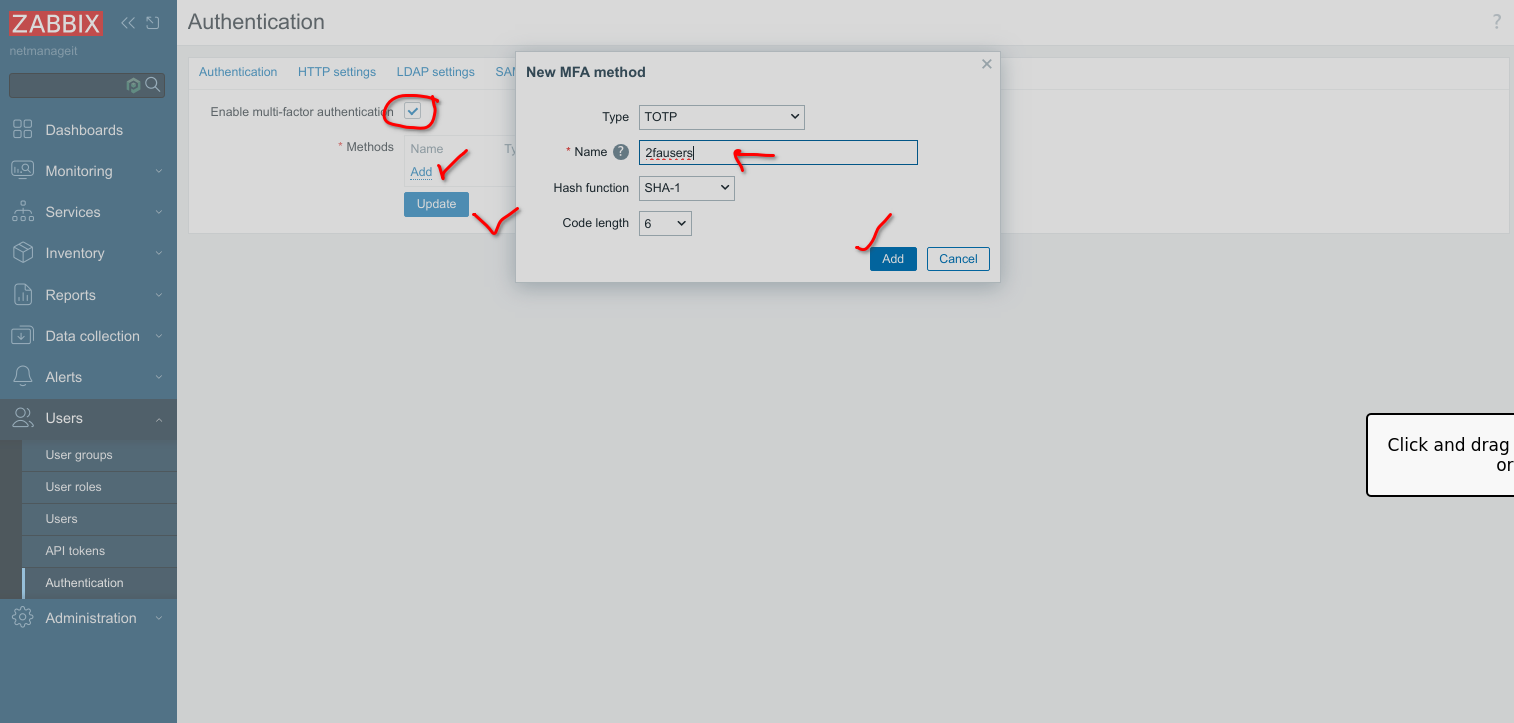
First set initial MFA settings
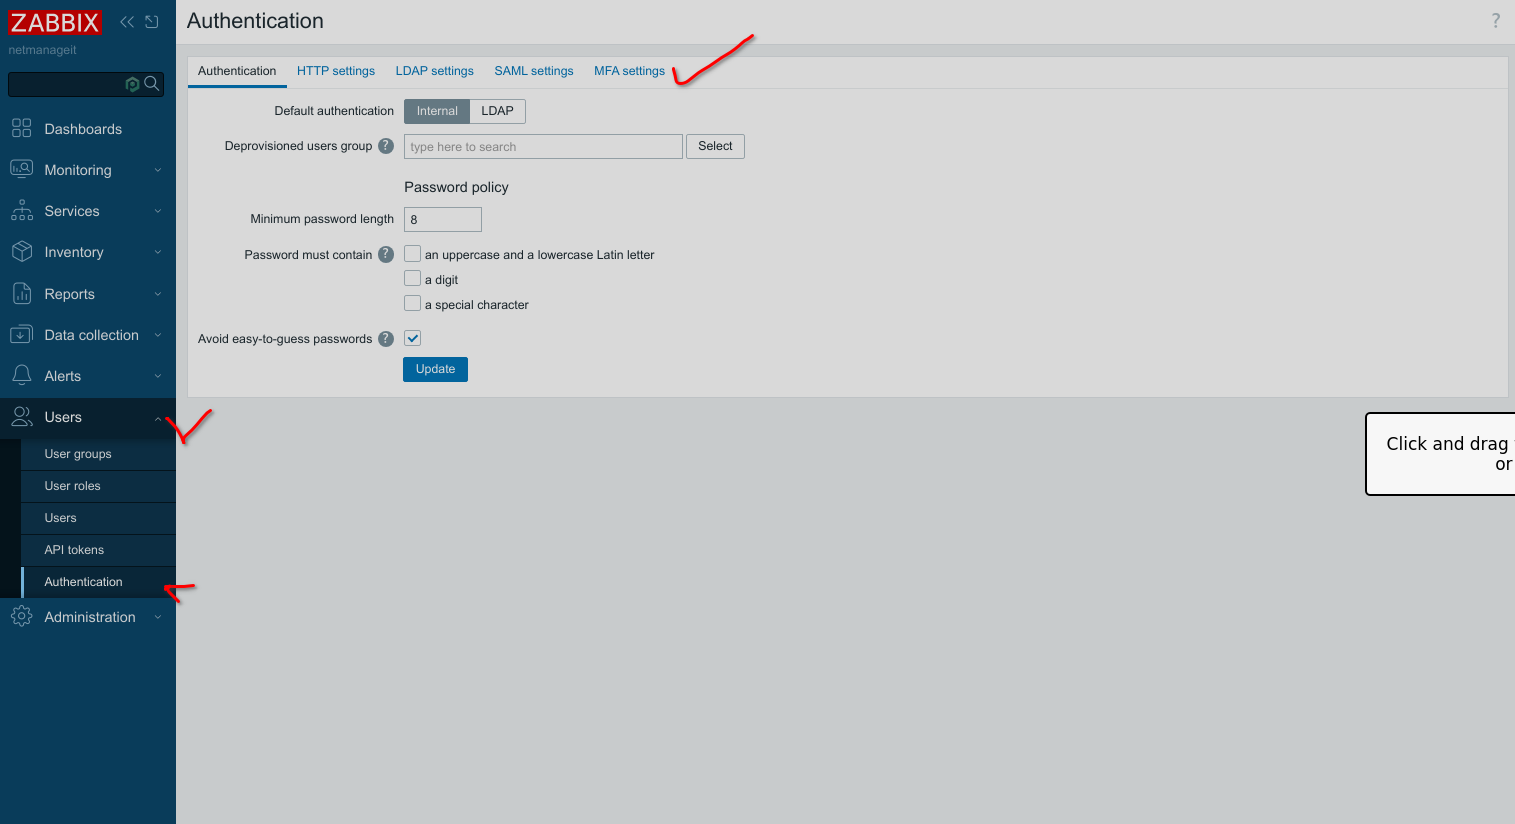
Click on MFA settings, then check "Enable multi-factor authentication" checkbox. Click "Add" and then fill in a name for 2fa configuration, hit add, and update to finish.
Next, create a User Group to attach the new 2fa settings configuration to.


Click Add once you have everything set to add the new group.
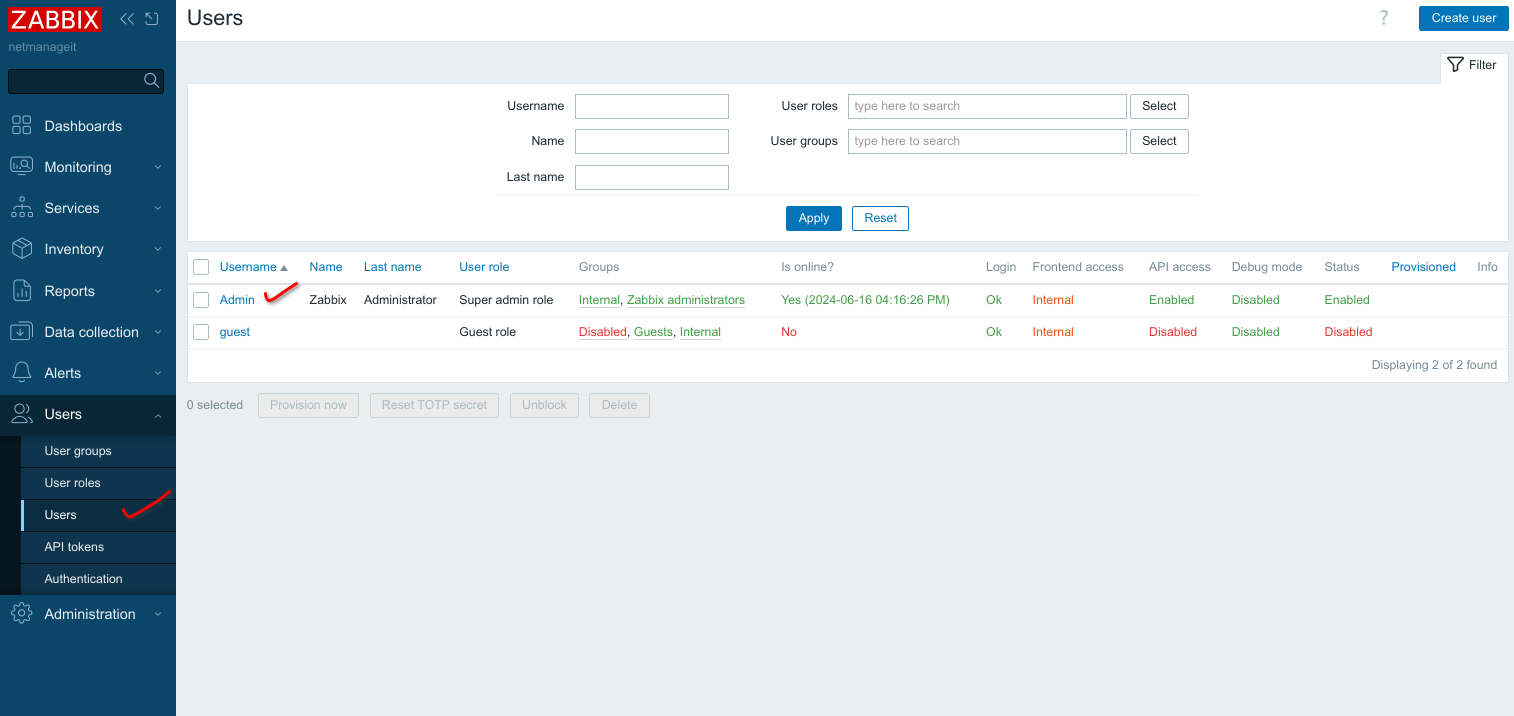
Now we need to attach our default Admin Super User account to the 2fausers group. Click on Users, then the Super Admin user.
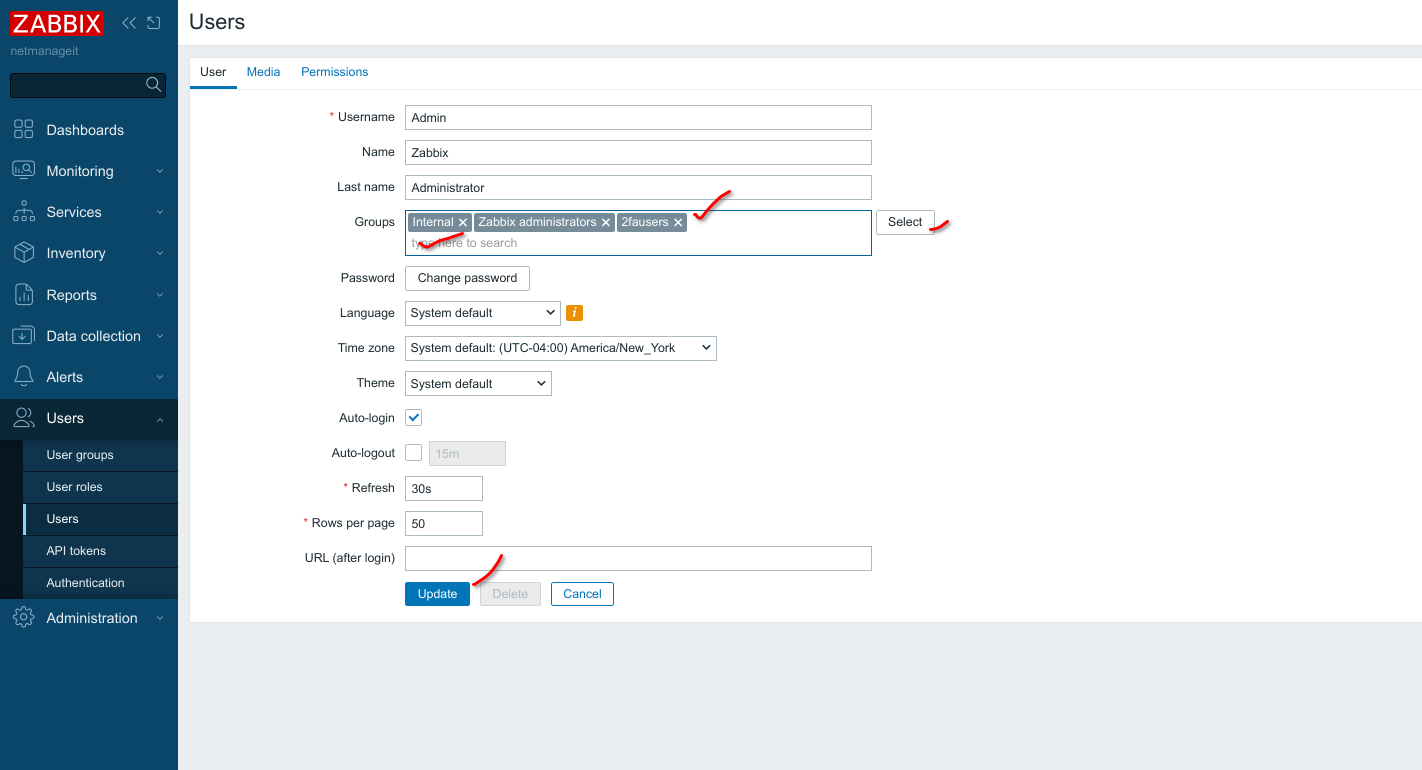
Now add the 2fa group we created earlier to the groups the user is a member of by hitting select button and clicking, or start typing name in the "type here to search" area. Then hit Update when done.
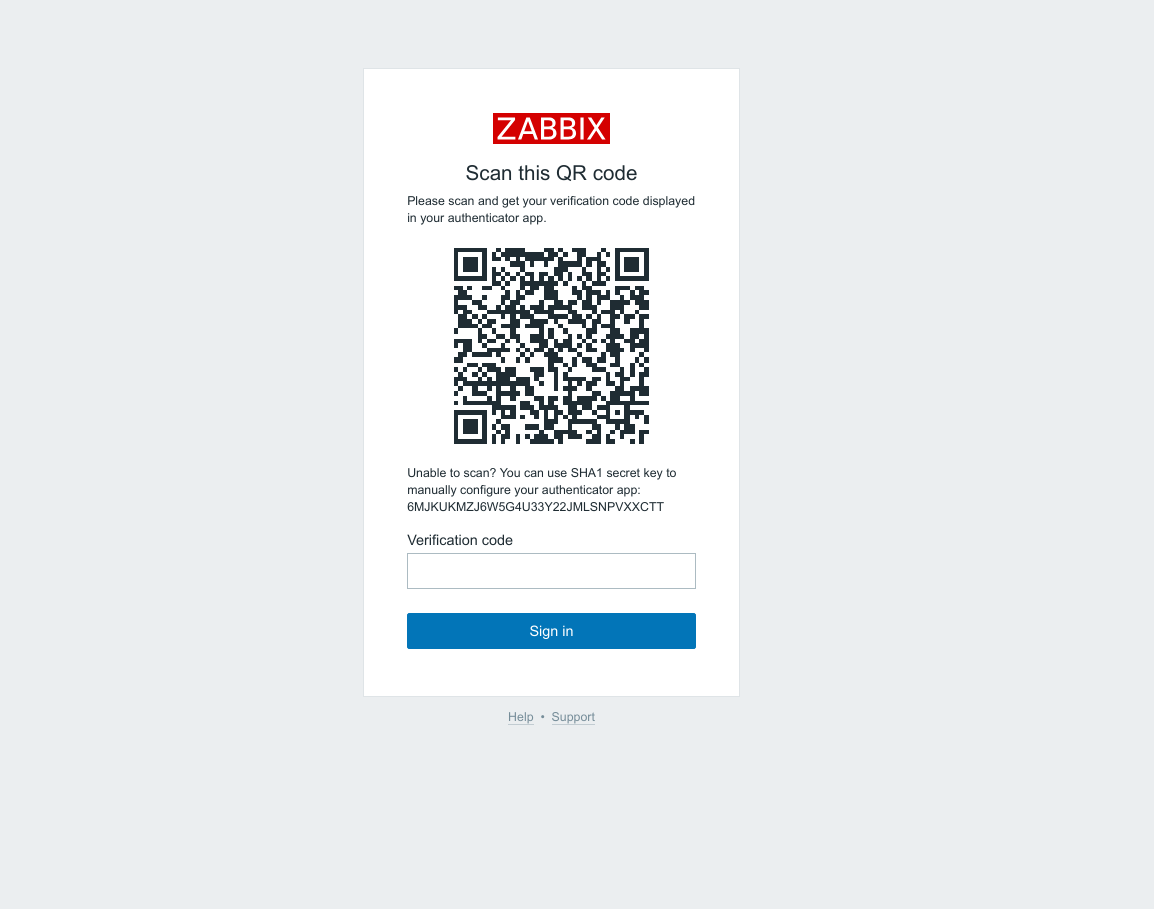
That is it, now logout, and then login, you will then be presented with the option to configure your 2FA!
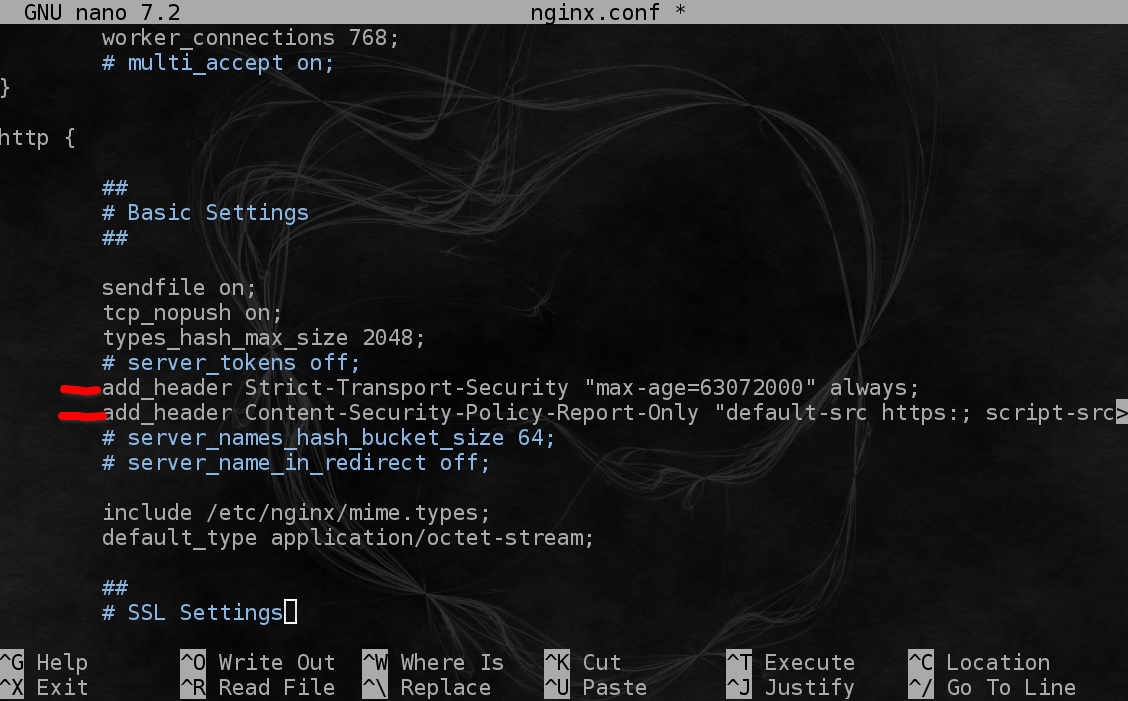
Improve HTTP Security Header configuration in NGINX.
Add these 2 new lines below "#server_tokens off;" in the /etc/nginx/nginx.conf file.
Next scroll down to SSL Settings, we want to turn off TLS 1.0 and 1.1 support for good measure.

Now Save the file and restart Nginx
Thats about it! I usually configure more HTTP Security headers to reach an A+ rating, but these are what Zabbix recommends. Feel free to experiment, but check the site to make sure it doesn't break any functionality.
Also, there are additional ports Zabbix will need to have opened to the server depending on the type of monitoring you will be doing. I was just playing with Web and Cloud monitoring.
To allow Zabbix client agent communication to the main Server, open ports 10051 and 10050 TCP.
Hope you enjoyed this article!
God Bless
Dan