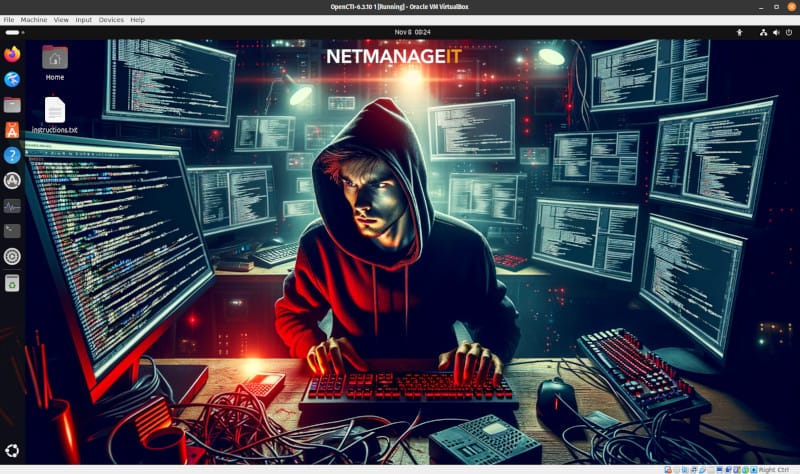
OpenCTI Turnkey VirtualBox OVA available!

Updated 04/18/25 : Updated OpenCTI to ver. 6.6.5 running on Ubuntu 24.04 LTS Desktop!
I made it even easier to get started with OpenCTI, so I created a fully turnkey ready to go VirtualBox VM OVA, with Host OS, Docker and now updated to OpenCTI 6.6.5 configured and installed! This will get you going quick with your own up to date OpenCTI instance with the most popular connectors!
The VM is loaded with Ubuntu 24.04 LTS Desktop, as I found it is easier for users who download it, to fix network issues on different hardware as well as usability. Also installed Native VBox Guest Additions for further capabilities etc. The newest version of Docker and Docker Compose are installed, and OpenCTI 6.6.5 stack setup and running automatically, with all containers set to "restart always". Once booted up, it will start to pull down more data soon as it is launched. I also let it import and ingest a lot of the basic things so less of that needs to be done when booting up for the first time!
Note: Depending on your hardware, give it a good 5 min to boot up, depending on your hardware configuration, this delay can vary wildly!
When you import the OVA template file, the defaults should be set to 4vcpu and 16GB of RAM. The current memory limits of Redis, and Elastic and Node is optimized for this configuration. I wouldn't really recommend running OpenCTI with anything less than this. If you absolutely have to trim the resources, maybe try 12GB and 4vcpu, anything less and it is going to eventually start choking bad when it ingests enough data!
The username and password for the root user of Ubuntu are :
Admin User Ubuntu - opencti / Admin User Pass - netmanageit
The login creds for the OpenCTI admin, is "opencti@netmanageit.com" and the password "netmanageit". The VM is set by default to use a bridged adapter and DHCP. To find your IP address, pop a shell, then do an "ip a" command. Then visit the OpenCTI main login portal screen @ http://YOUR-IP:8080 , or just click the Firefox bookmark link to local 127.0.0.1.
For more details and instructions for modification and changes, as well as info on un-commenting additional connector configurations in the Docker-Compose.yml. Go to the "/home/opencti/OpenCTI" sub-folder and read the "instructions.txt" file for more details. Once you get a few API keys for the disabled connectors, you can un-comment the subsections to activate them.
My preferred recommended way would be to look through the existing docker-compose.yml file in the "/home/opencti/OpenCTI" folder. Look at the commented sections, decide which ones you want an API key for. Sign up and get the keys. Enter the API key in the section that says "ENTERAPIKEYHERE", make sure to uncomment all the lines for that connector section! Then Perform the following steps in this order.
NOTE: The default user "opencti" is part of the docker users group, so no sudo is required for any docker commands.
- From within the "/home/opencti/OpenCTI" folder, issue command "docker compose down"
- Edit the docker-compose.yml and uncomment the sections you want. Enter the API key in the section where it says something like "ENTERAPIKEYHERE", then save the file.
- If you need to change Default Admin username and or Password, along with Elastic Memory settings and other items, edit the hidden .env file in the opencti folder, then finalize with below command.
- Finally Issue command "docker compose up -d"
Click below to download the OVA file fast from one of our servers, Enjoy!


