
FESS Enterprise Search. An Open Source Google Search Appliance Replacement.

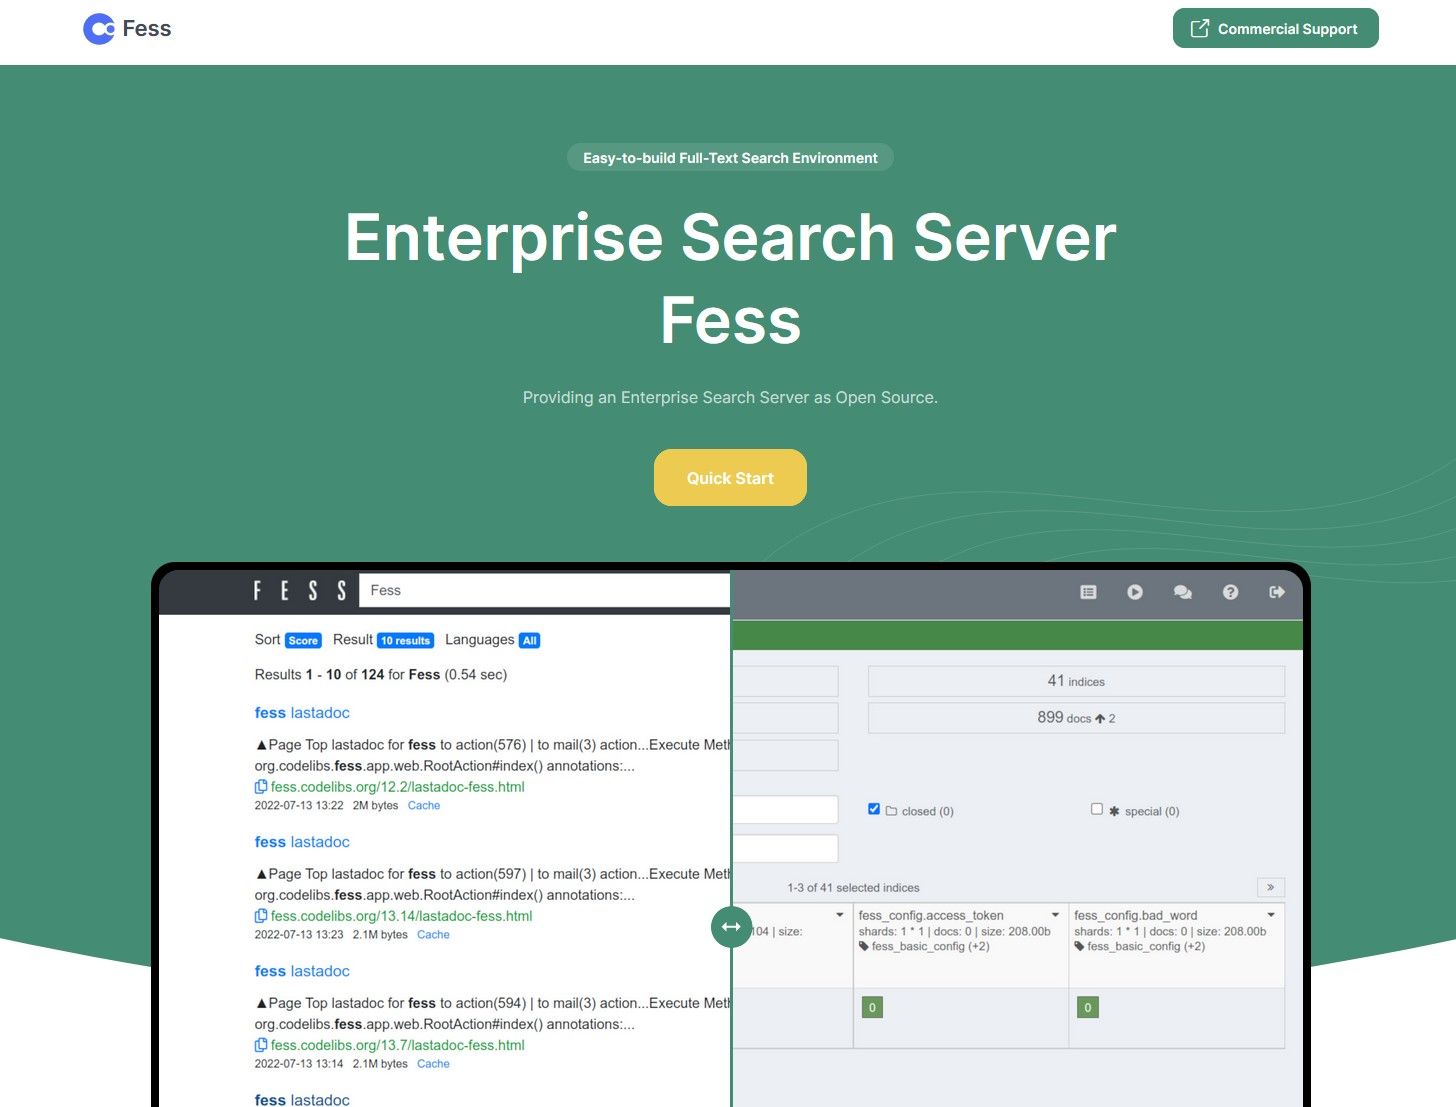
What is Fess? Fess is an Open Source self hosted Internal Search Engine solution. Think of it as having your own Internal Google Search Appliance that is free and Open Source! With FESS you can fully customize the interface, and configure a bunch of crawling sources including files locally or through SMB network shares. Websites, Databases, and with additional plugins, Email, Slack, Box and much more! If you have a company share drive that is a mess, or a bunch of scattered knowledge or documents in different platforms, this software can collect, index and make finding documents and knowledge a breeze!
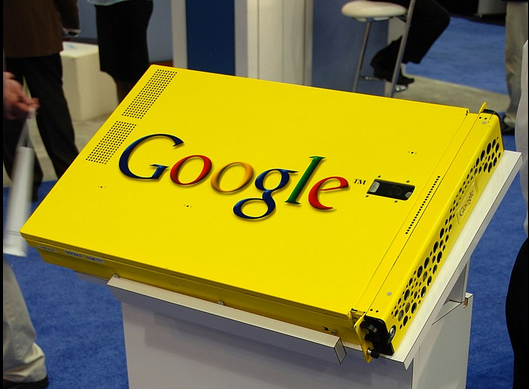
Some people may remember when Google marketed and sold their technology as an On-Prem appliance back in the day for years, until 2018/2019 when they fully discontinued it. That same similar technology can be setup in 10 min for free on your own Windows or Linux server or VM with the help from this guide!
FESS has the ability to not just crawl file paths, but look within those files using different techniques to index content within your .docx, xlsx, pdf, txt and even ZIP and compressed archives! So lets say you have 500,000 files in many different local sub directories on a server. An organizational mess, that has gotten more and more unruly as time goes on. It has gotten a little out of hand to say the least. :)
Anyways... How can you find things quickly and easily now that it is a mess? Well... with FESS you can search for terms and keywords that are embedded in those documents, so that it can find and rank the most relevant results, to find that information you desire, just like Google's Internet Search engine! It is for the same reason Google made a Search appliance for the Enterprise. To find, index all of a companies knowledge and documents, and make them easily searchable.
I am going to show you just how simple this solution is to setup, which is far easier than any other comparable product out there, commercial or open source! FESS can be run on Windows or Linux. For this tutorial, I will be throwing a bone to all the Windows folks out there and showing you how to get setup under Windows! I know, I know.... I am a hardcore Linux guy, and most of my articles are for Linux lovers, but I wanted to change things up a bit and showcase just how easy it is to setup in a windows environment. The install is very similar to Linux either way.
So FESS really only needs one thing to work, and that is Java installed on the system. The method I will be showing will work great for development and semi-production use, but if you plan on serious production use, or you are a big Enterprise or Organization, you will want to install OpenSearch as the main back end for larger workload scenarios naturally. That being said, I have tested the stock Java only install with over 500,000 documents on a server, as well as multiple website URL's and it runs great just the same!
Downloading and Install Java and FESS on Windows
First we will want to go to the Official FESS website and Download FESS and JAVA using the links provided for the newest release.
https://fess.codelibs.org/downloads.html
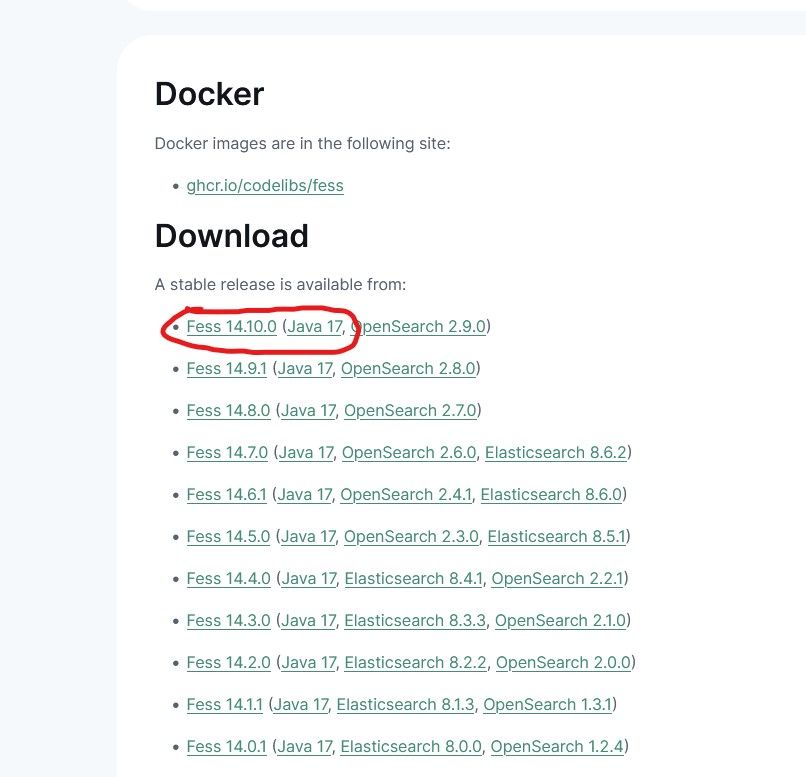
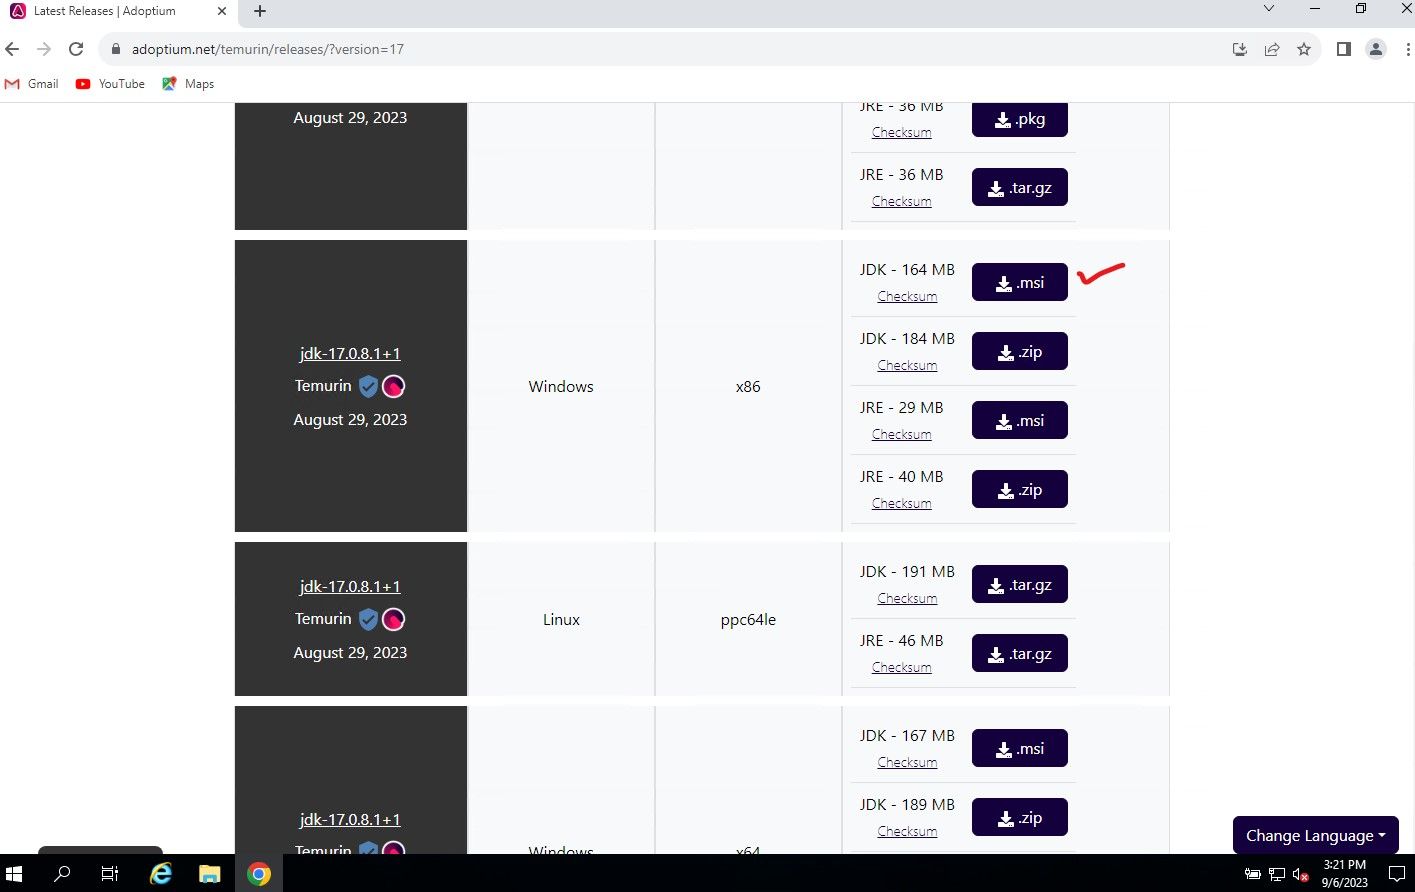
Download them both to your Windows Server or PC, so lets install Java first. The Java link will take you to the Adoptium Temurin release page, select Windows x86, JDK .MSI file, download it and install.
Run the Java installer and click next, make sure to select the option "Set JAVA HOME" from X to installed.
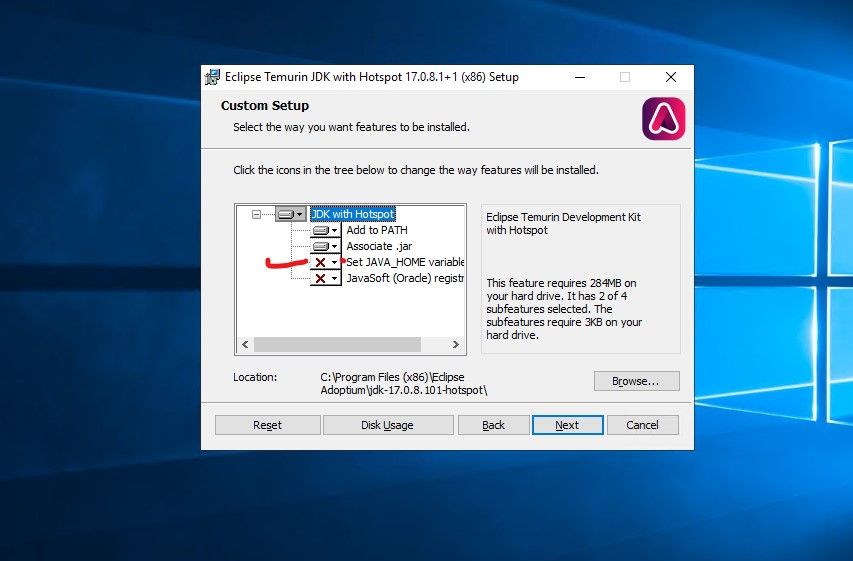
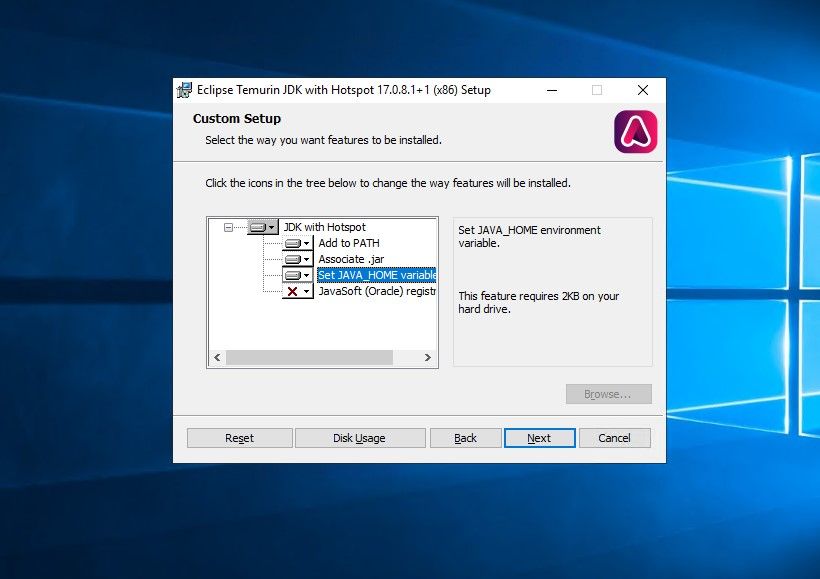
Click Next and Install
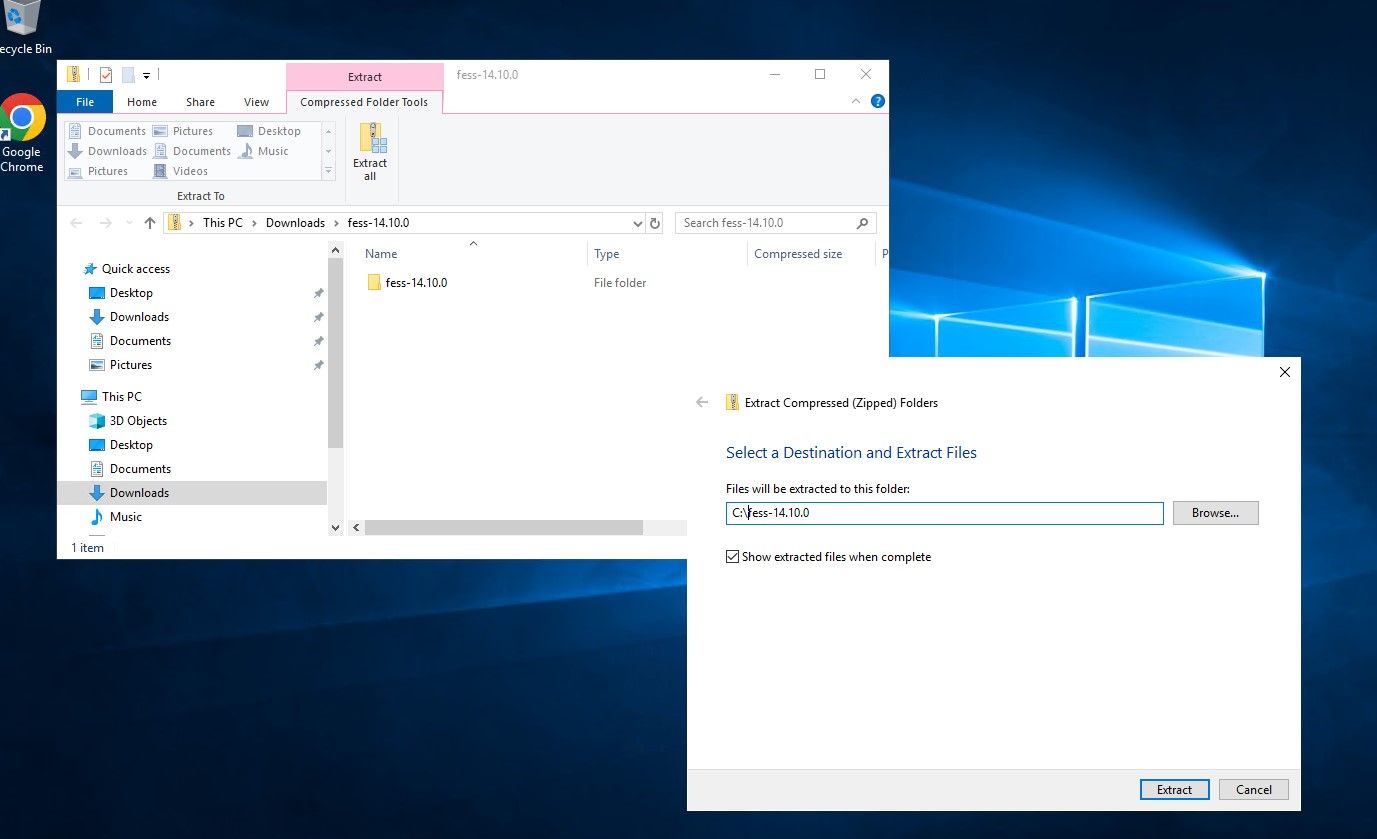
Now lets extract the FESS installer Zip file to the C:\FESSxxxxx directory.
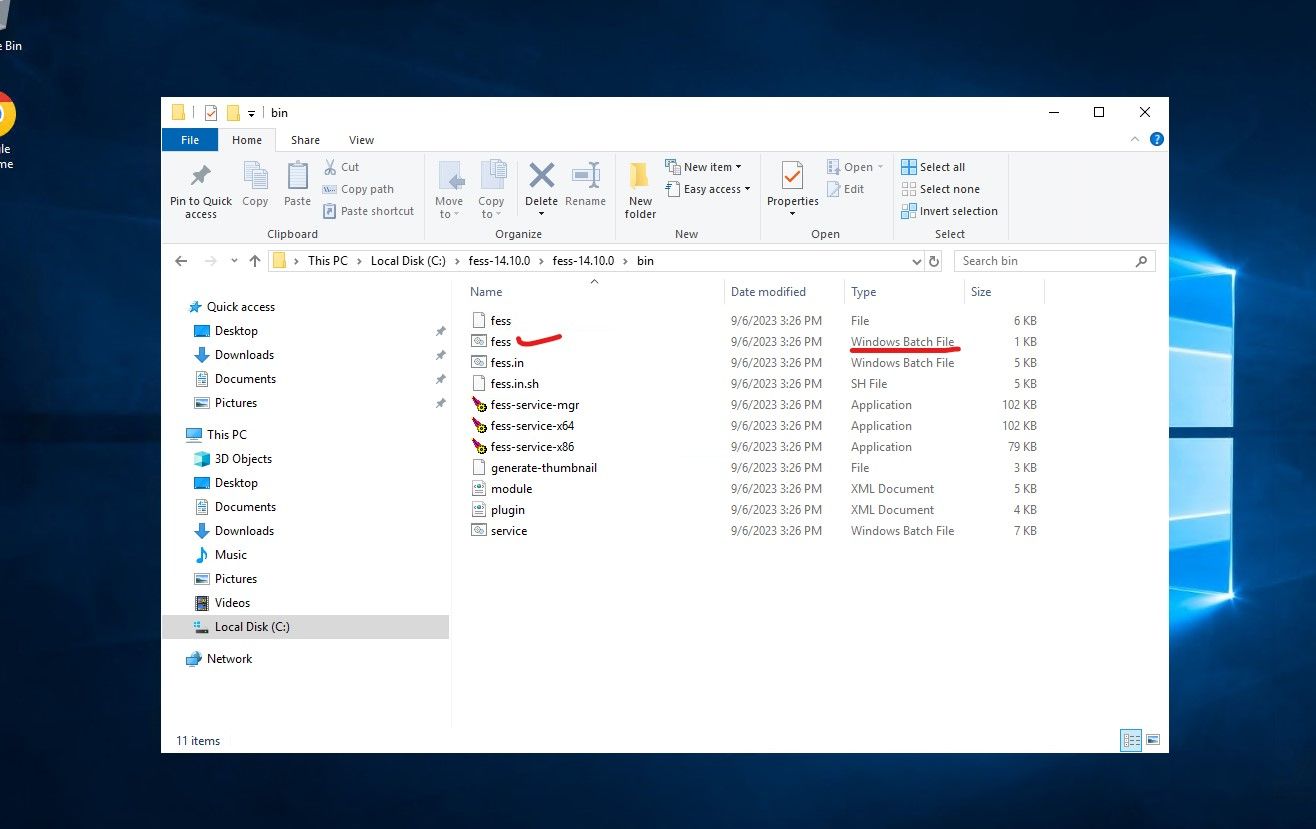
Once everything is extracted, you only need to run the main fess.bat file located @ C:\fessxxxx\bin\fess.bat. You can run it manually by clicking on it, or if the server will be used regularly, just throw it in the startup folder to run on reboot, scheduled task etc.
NOTE: You will most likely get a Smart screen error message, hit run anyways, it is a vetted, trusted and verified.
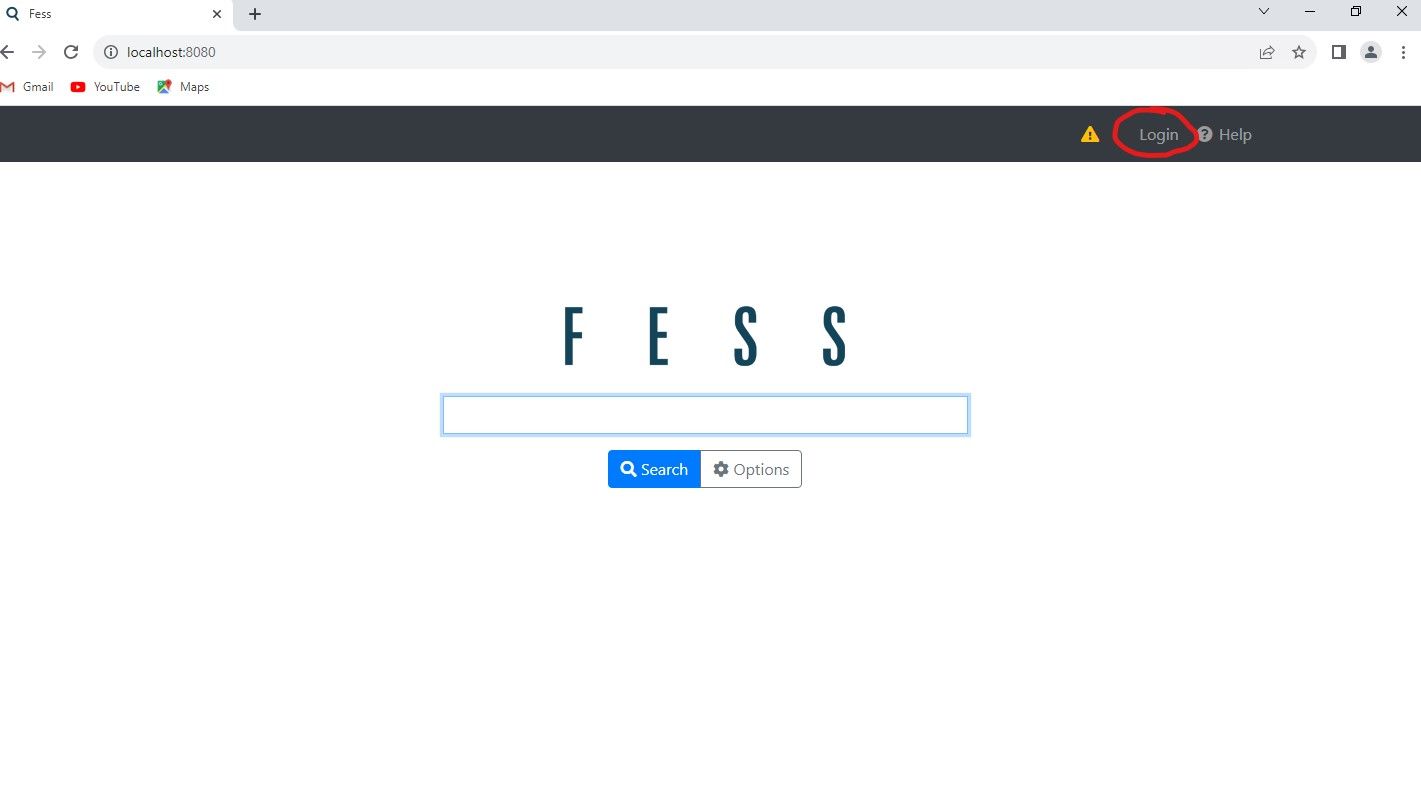
Give it a min, and now you should be able to access the Web Admin Interface at http://localhost:8080 or http://YOURIP:8080 remotely.
Once at main page, click on "login" at the upper right.
Default Credentials are user - "admin", pass - "admin". Once logged in, it will ask you to change the password, go ahead and follow the prompts.
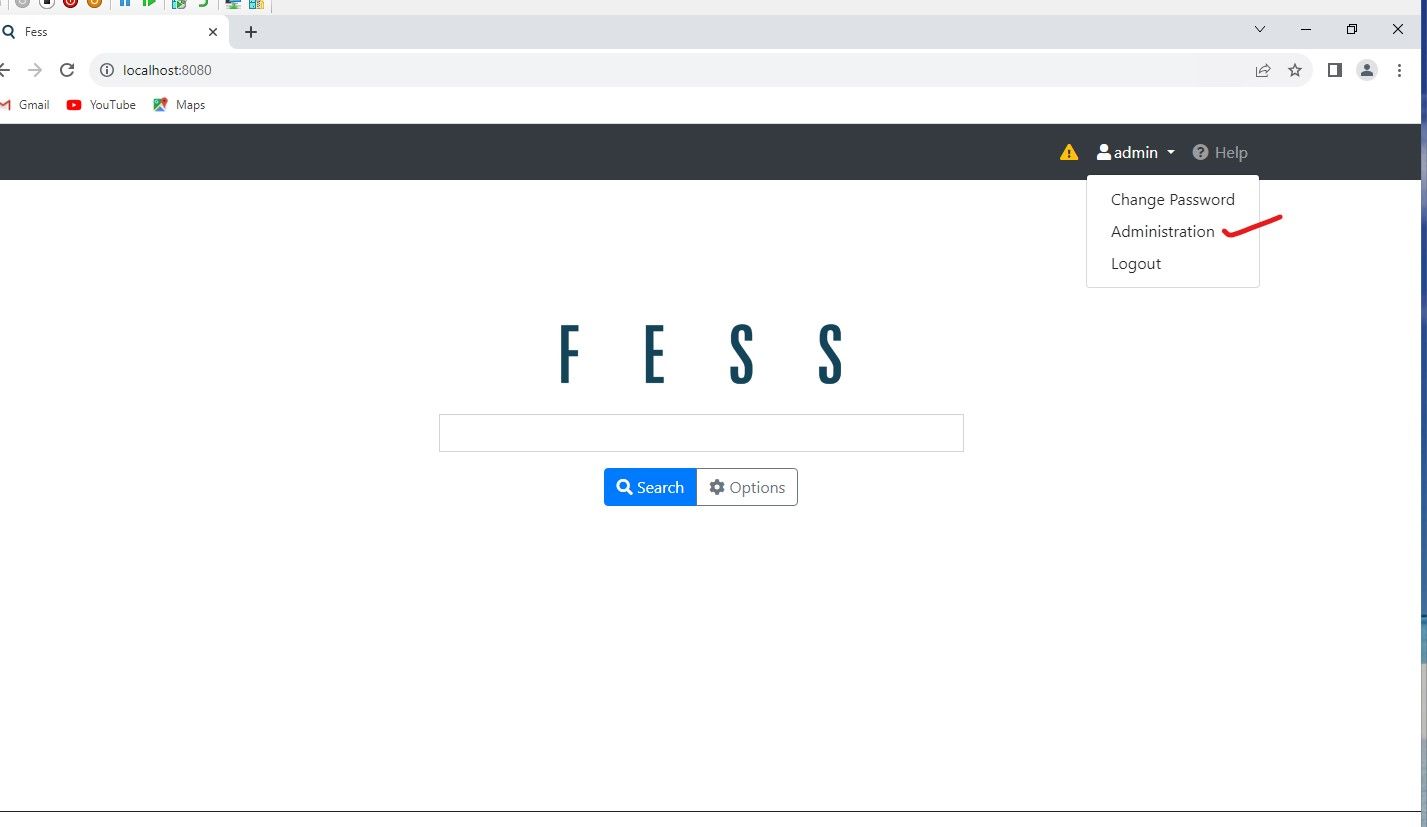
Once Logged in, click on "admin" user in the upper right, and select "administration"
Configuring Files and Websites to be crawled
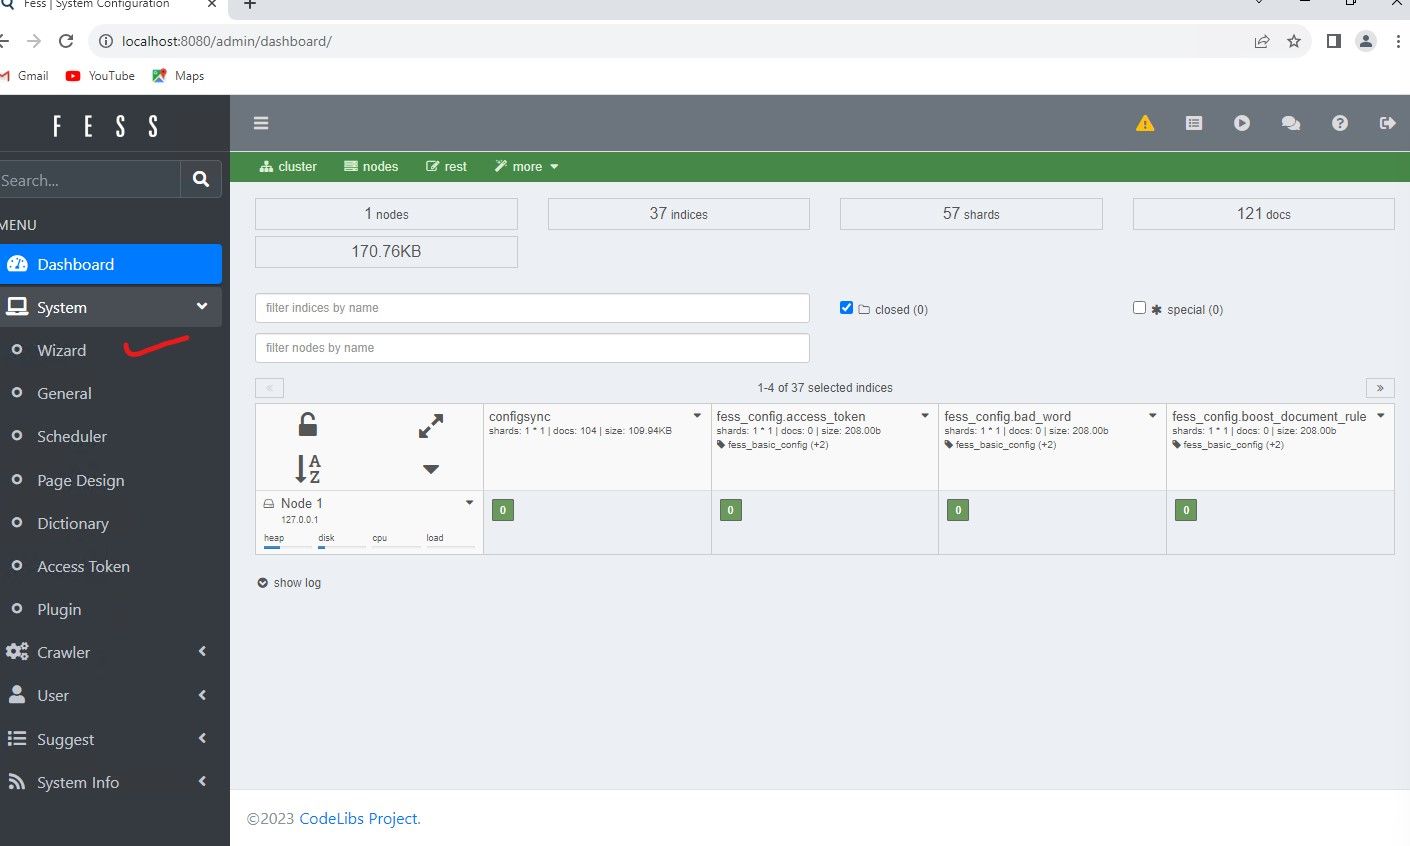
For this example, I am going to throw a few test documents into a folder called C:\docs, we will then configure the system to crawl that directory and all sub directories. The easiest way to do this is by using the Wizard, and I will explain why in a minute. The most difficult thing to understand with FESS is probably going to be the proper way to set the URL Regex syntax. Its very easy to get confused on this, as one would normally think of the CMD prompt/Powershell syntax in Windows for example. The wizard is good, as it will get you going and then we can edit the properties to see the proper syntax it used.
Now click "Start Configuration" to get to the next series of input boxes.
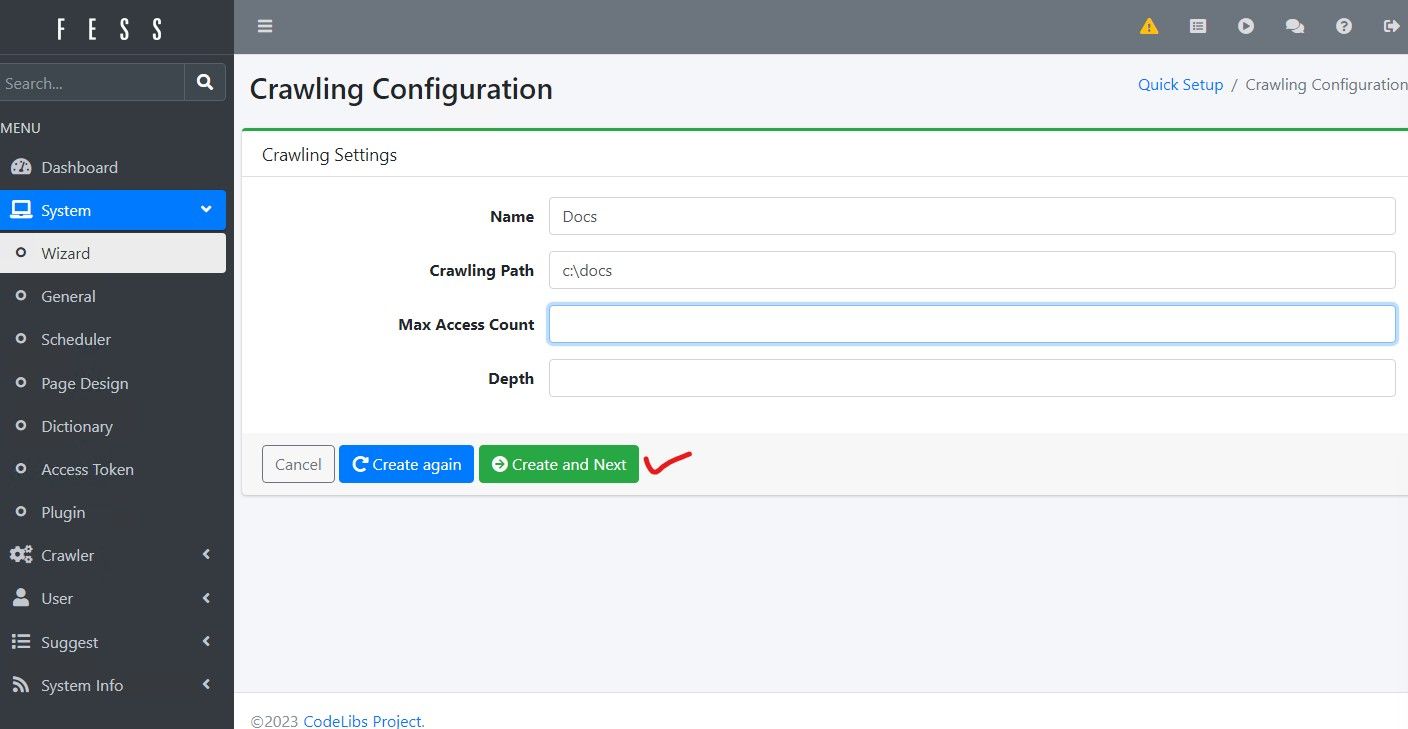
Fill out a name for the folder and crawling path, leave max access count and depth blank for now. Then hit "Create and Next"
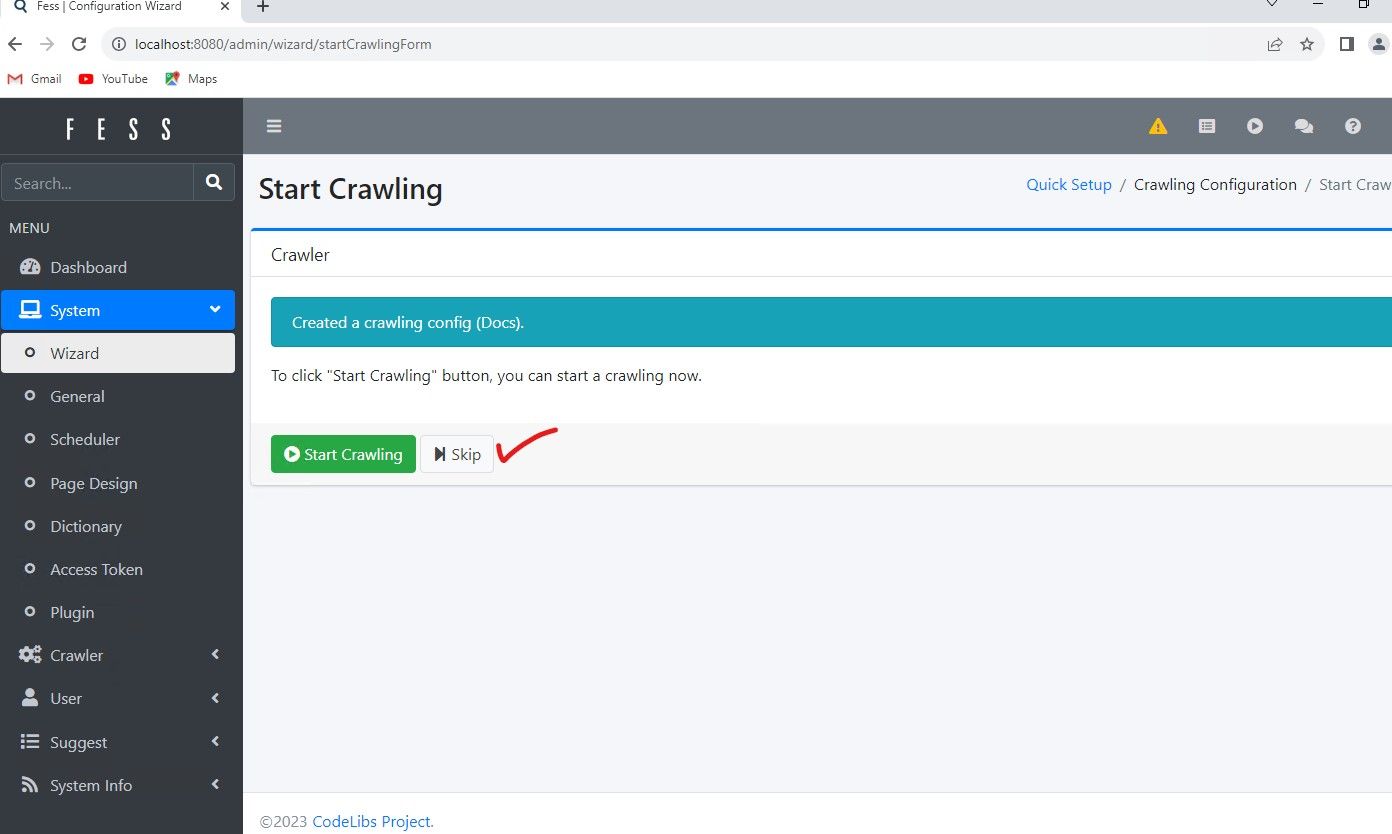
You will see a prompt to start crawling now, or skip. For now lets hit skip, then go back in to edit the crawler job to see additional options.
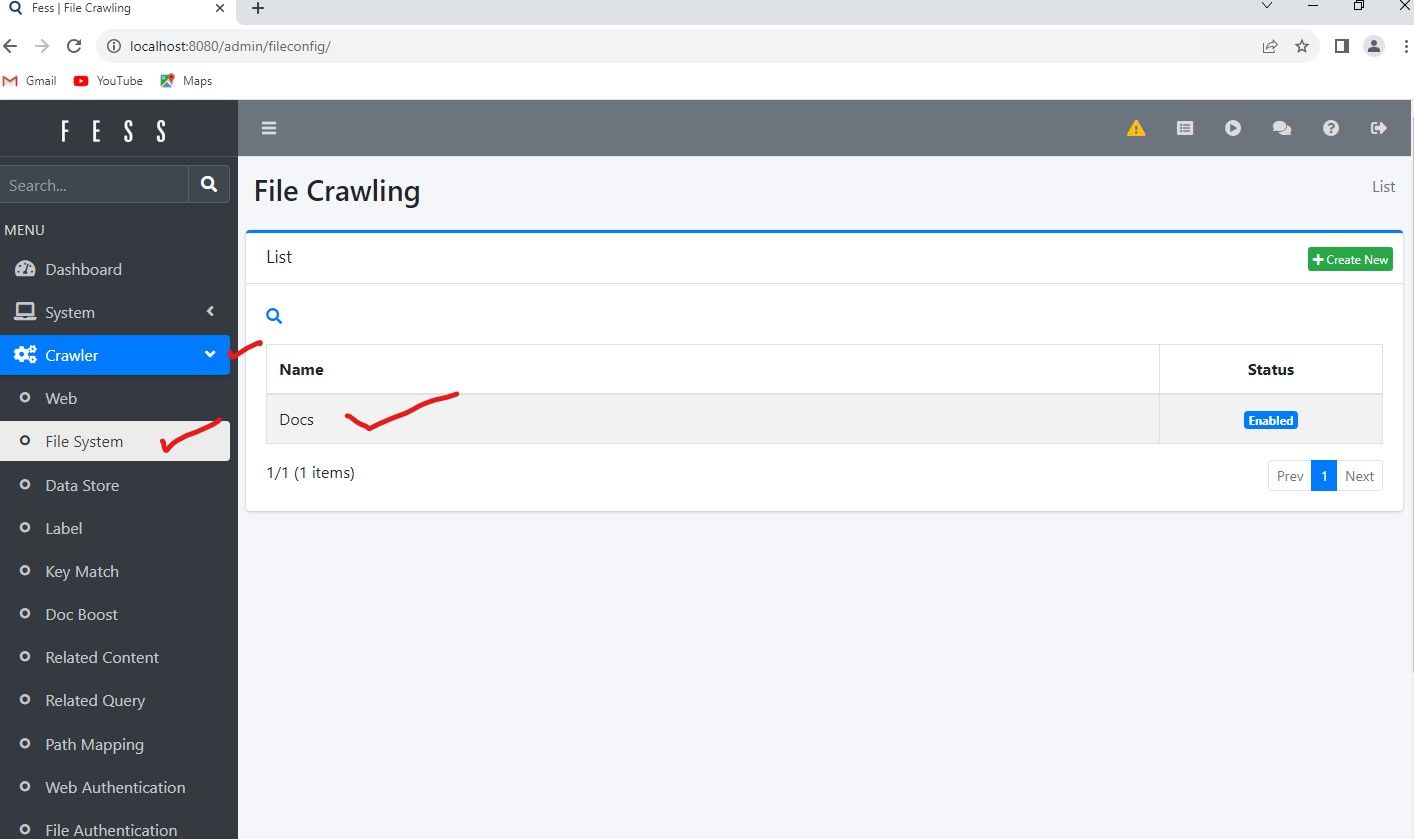
Now click on "Crawler" and "File System" sub menu to see the configuration we just made and expand on it. Click the Docs Entry to expand into full details.
Click "Edit" at the bottom. You can see below, the path the system used with our wizard is "file:/c:/docs" . This is the proper syntax the system uses, the Wizard simply converted our typical directory structure syntax to a Java Regex syntax.
You will notice a few other different fields. Lets say you had a sub-folder under \docs called \docs\pictures. Suppose you wanted to EXCLUDE that pictures sub-folder. You would enter in the excluded paths for Crawling, "file:/c:/docs/pictures/.*" . This tells the system to crawl and index c:\docs but leave out c:\docs\pictures and any sub directories beneath that.
Now for Depth. It is a field I won't get into until we go over Web Crawling/Scraping configuration, so we will leave it blank. It simply a manner of how deep in the directory structure you want to index. I personally like to not set a depth and exclude subfolders implicitly. The Max Access Count is the maximum files FESS can open/index at one time. Just leave it blank for this, as local file or SMB file crawling won't tax the system too bad.
The number of threads, is the number of processes launched by FESS to crawl, digest, analyze and index the contents. I would say anything from 5 on down is a good place to start. This all depends on the processing power, memory and resources of the index server and Java Heap settings.
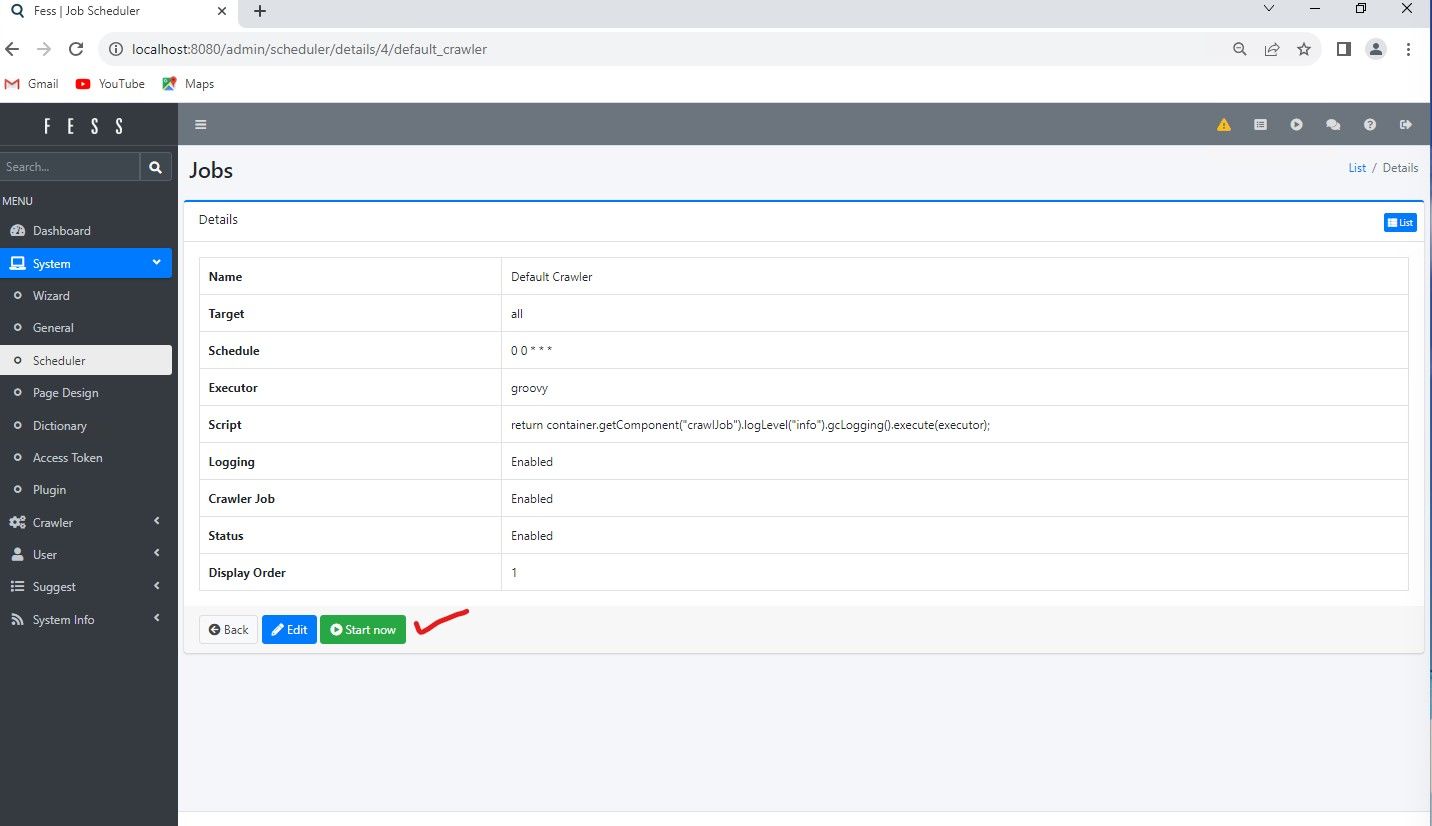
For now, we are going to start the Crawl manually by selecting "System", "Scheduler" and then select "Default Crawler"

Once you click on Default Crawler, there is an option to "Start Now", you can configure the main crawler engine processes and other processes to start as often as you want, which is based in cron format. In the screenshot, Schedule 0 0 * * * , indicates it will run once a day at Midnight.
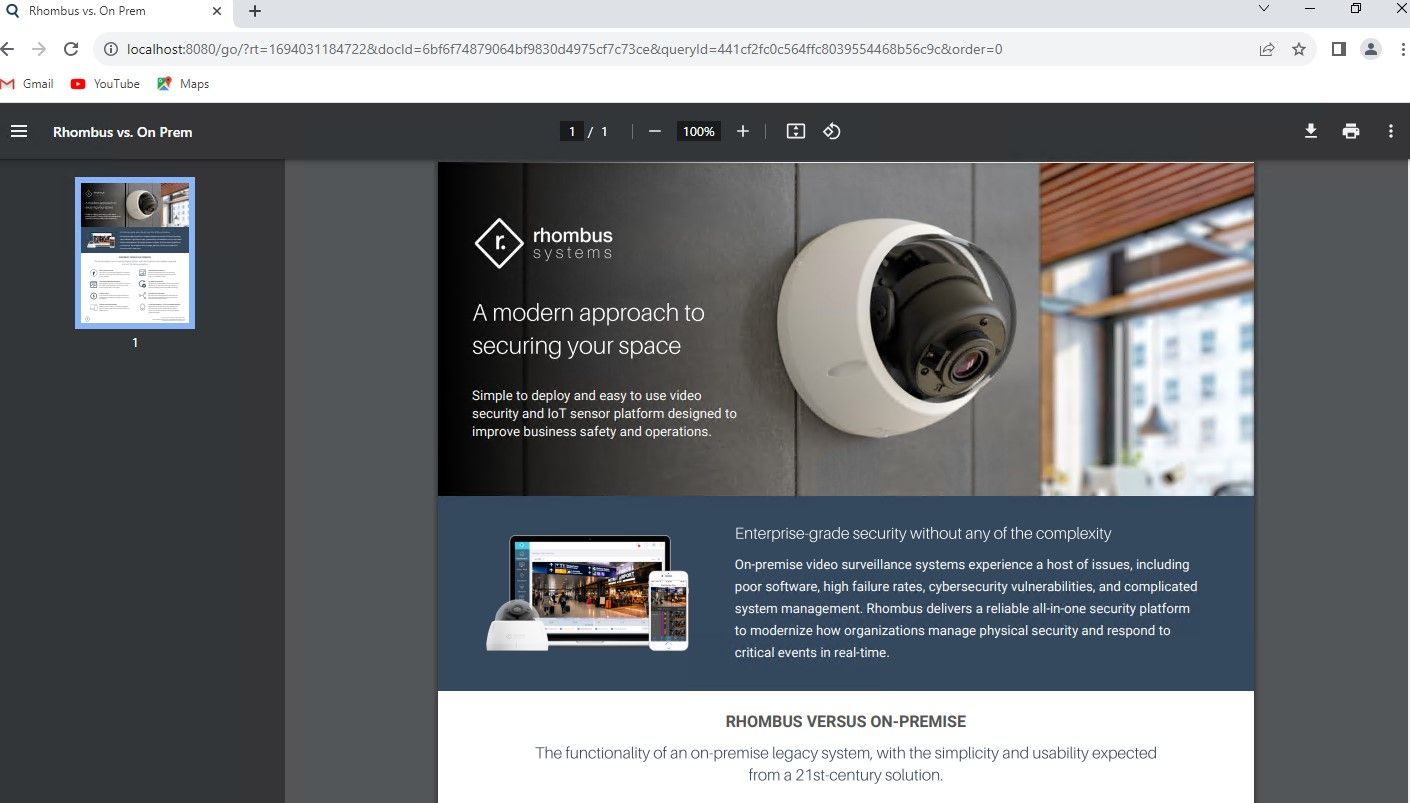
Once you hit "Start now" the crawler goes to work. Since my test directory only contains a few number of PDF's, Rhombus Camera Sales information, it will be done in an instant. Then we can test search keywords that are contained in the PDF documents, and then view them in our browser by clicking the links in the results page.
Going back to http://localhost:8080 main portal. Typing "Rhombus" brings up a few of the files in the C:\docs folder. You will notice its showing text from within the PDF documents, and by clicking on a link it will preview the PDF in the browser.
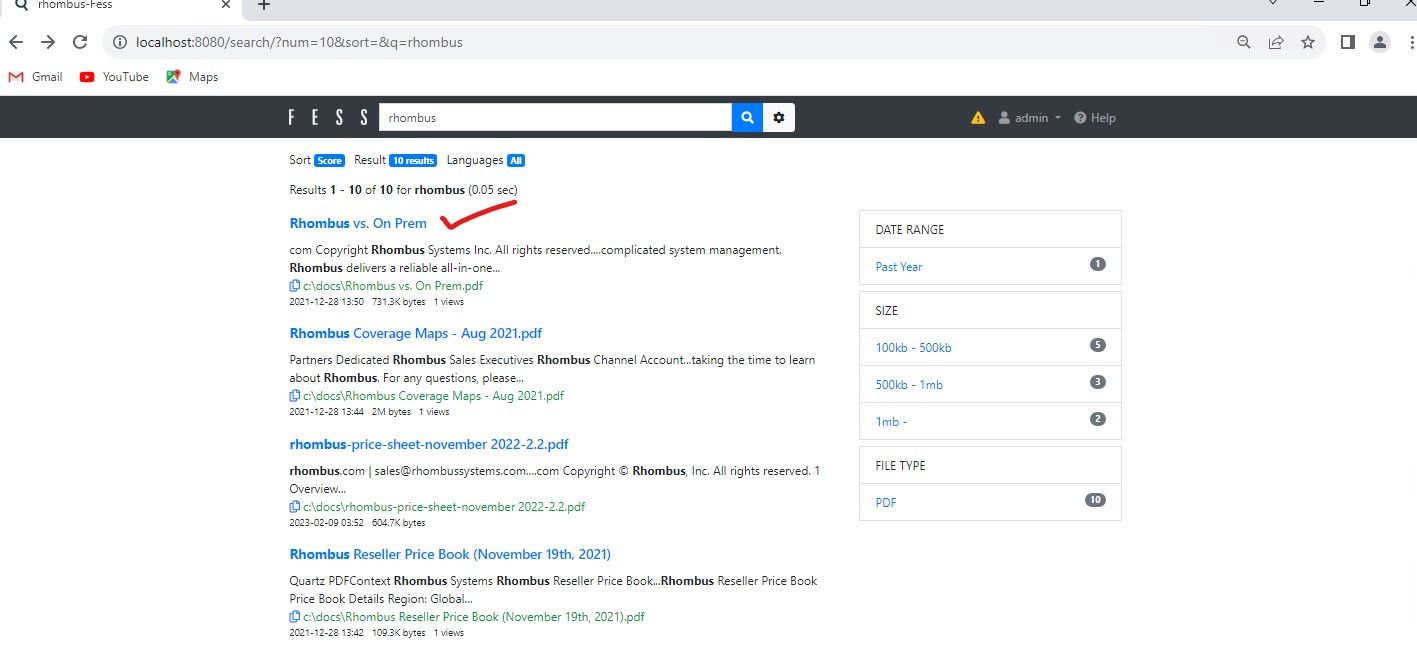
Clicking on the top result will show the PDF automatically.
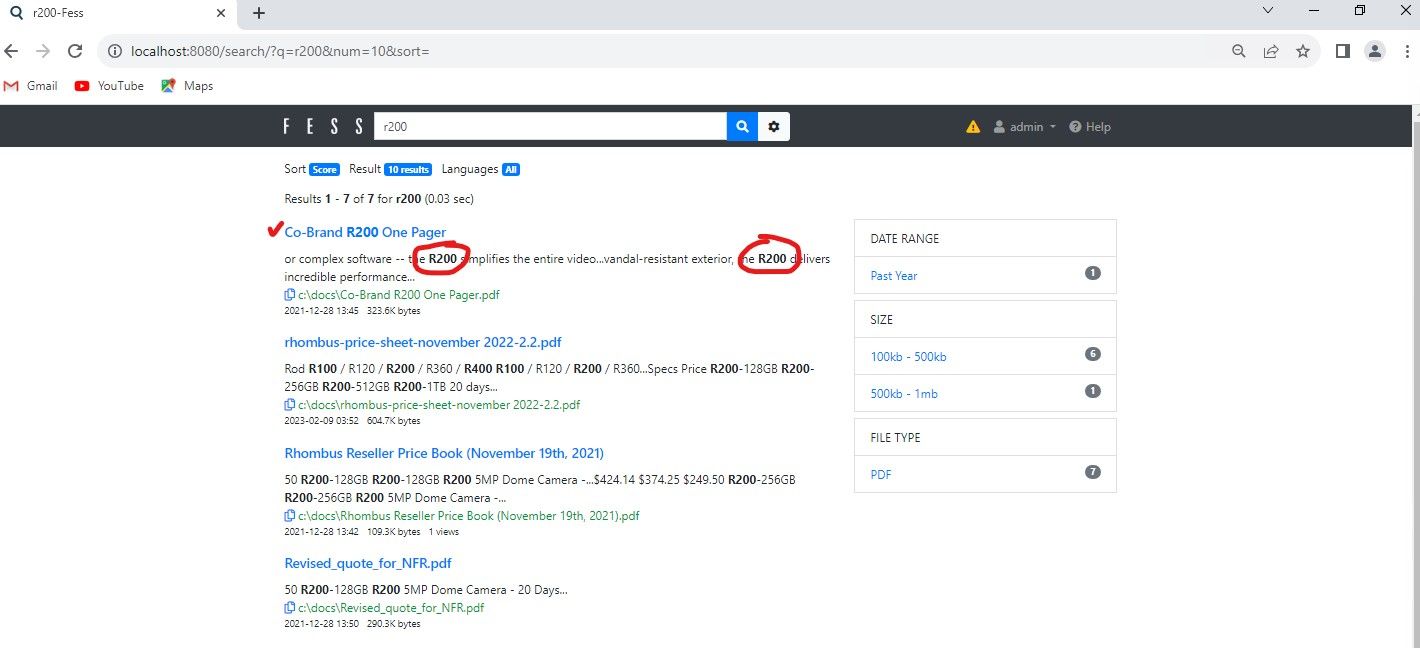
Now further down the list, there is a R200 Camera slick, so by searching for term "R200", it will now rank the embedded text of the R200 sales slick first.
Now. I have this running in our office with over half a million documents, and its remarkable when given the right keywords and boolean syntax, how you can find and narrow down the documents you are looking for!!
Web Crawling and Scraping Configuration
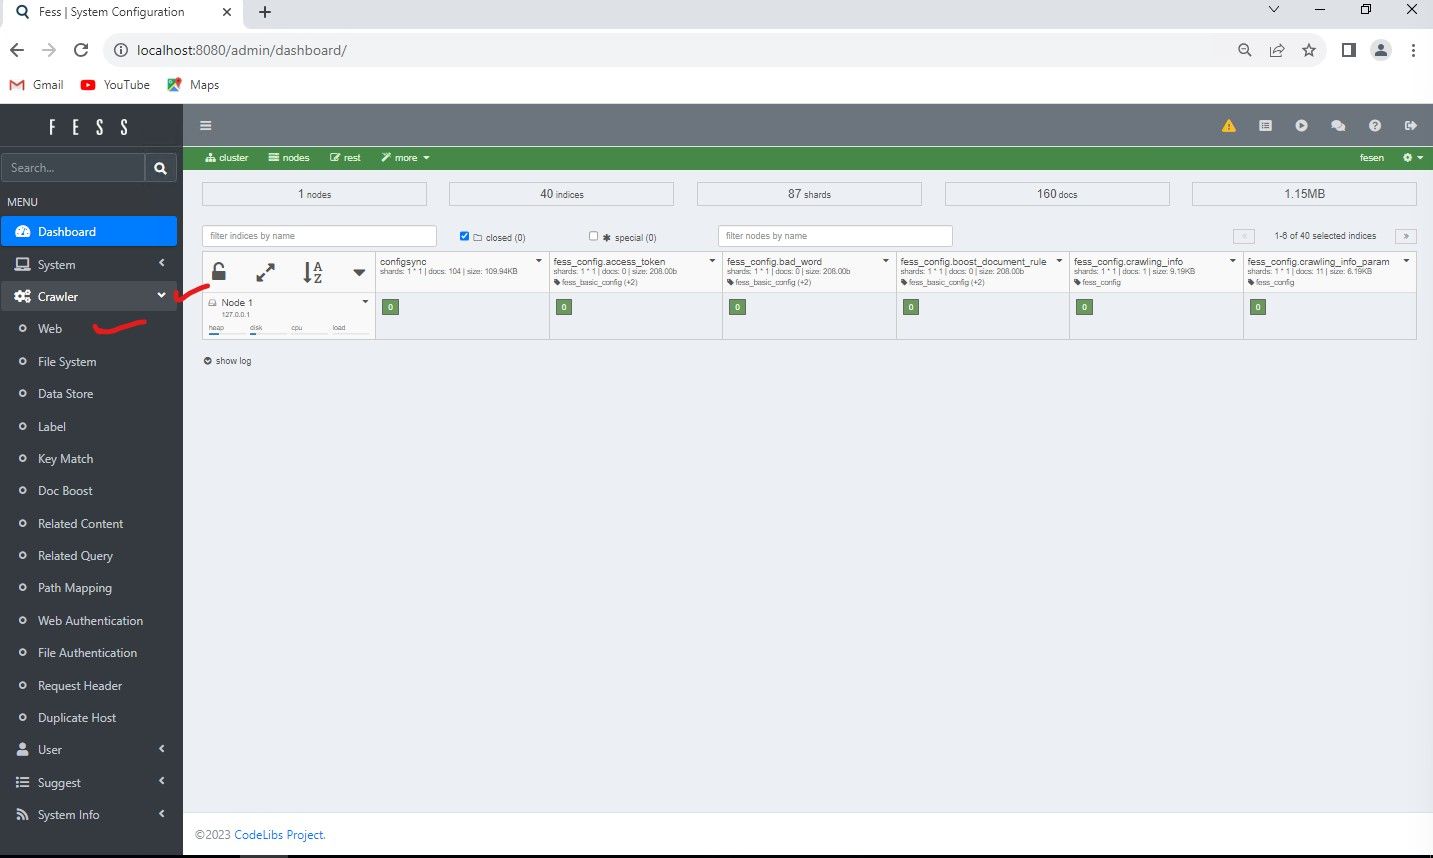
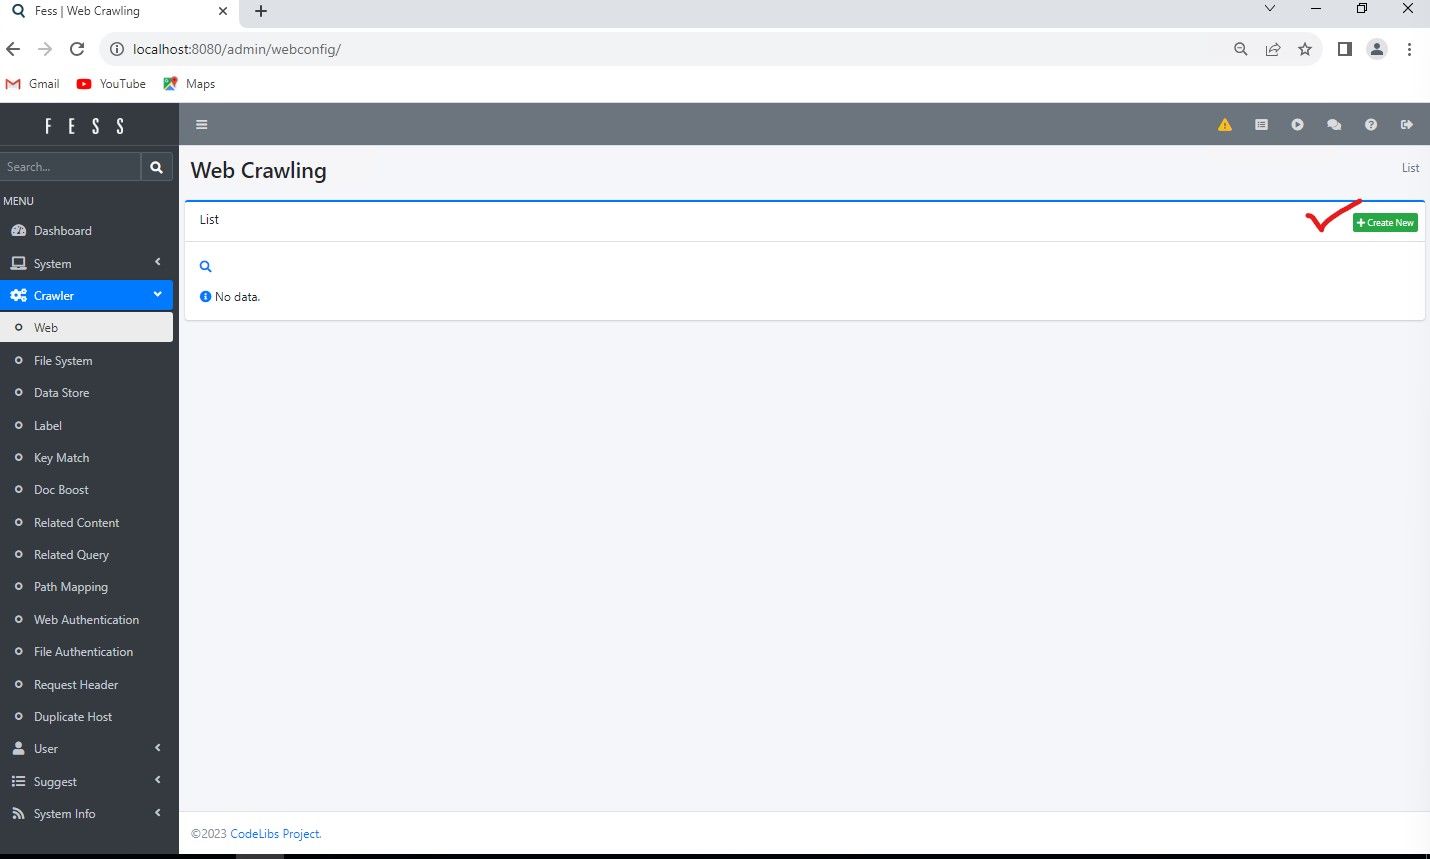
Next up is an example of configuring a particular web URL for the system to index. We will go back into the http://localhost:8080/admin/dashboard UI and click on "Crawler" and then "Web" to configure a web scrap/index job.
Click Create
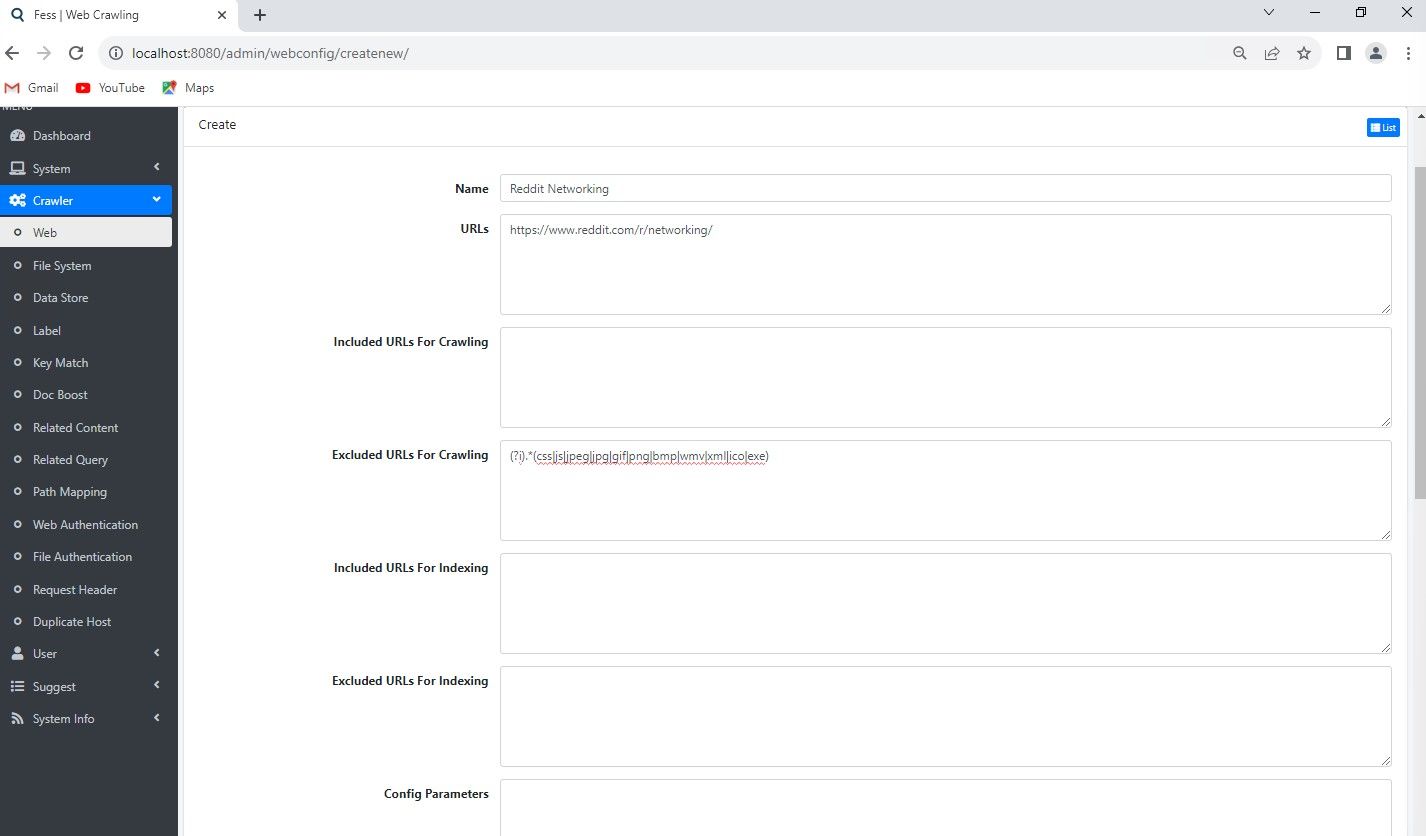
After clicking Create, you will see a few default options. Lets give it a name, and include the URL of the site, or in this case, just part of a site, we want to index. In this example it will be the subreddit https://www.reddit.com/r/networking/ .
So I will enter this URL in the Included URL's for Crawling and then set a Depth Max of 2 for example. The Depth setting is important. What this does is, it will crawl the particular URL. In this case a subreddit, and then index all the posts. Then go on to index the content and links within those posts / thread then stop. If you set a depth of 3 or more, or even none at all, the crawler simply keeps going down the rabbit hole and following every link it finds the deeper it digs. This is where the Depth setting is crucial. It prevents the crawler from going off into the weeds and indexing content you do not want. Pretty self explanatory.
The other setting is "Interval Time", this is set higher by default than file crawling, as when web scraping, you do not want to be crawling non stop a particular site, as its going to increase the risk of drawing attention to your scraping activities, so the delay factor between crawls is what this setting is about.
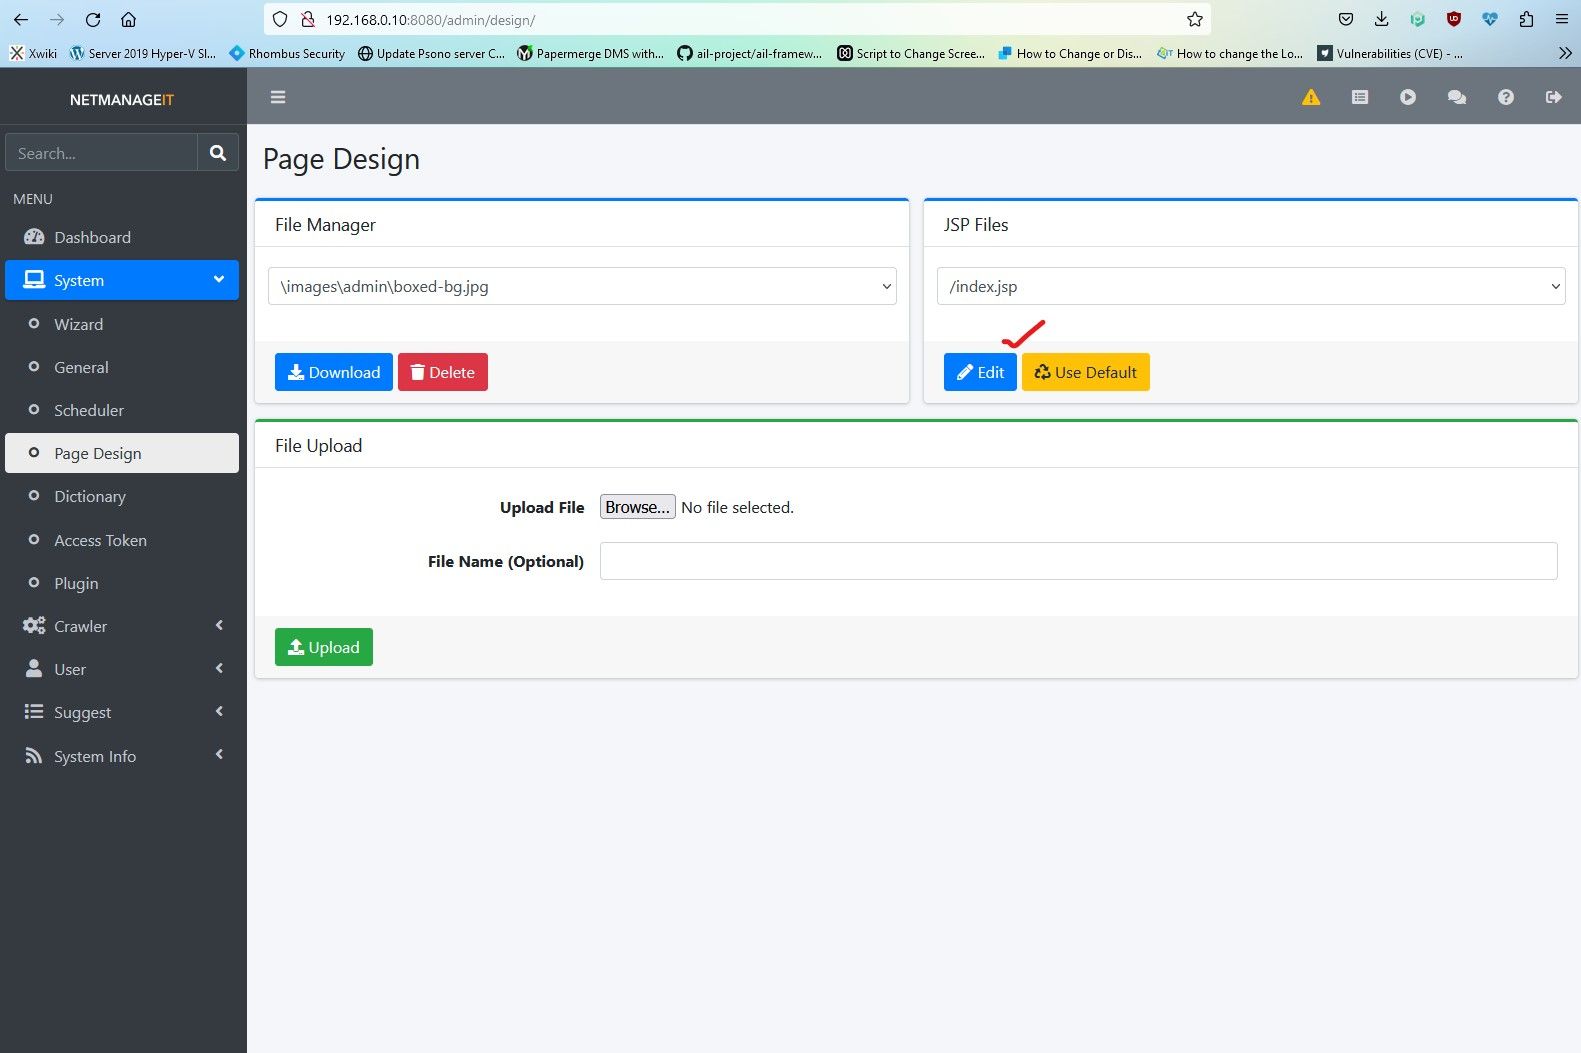
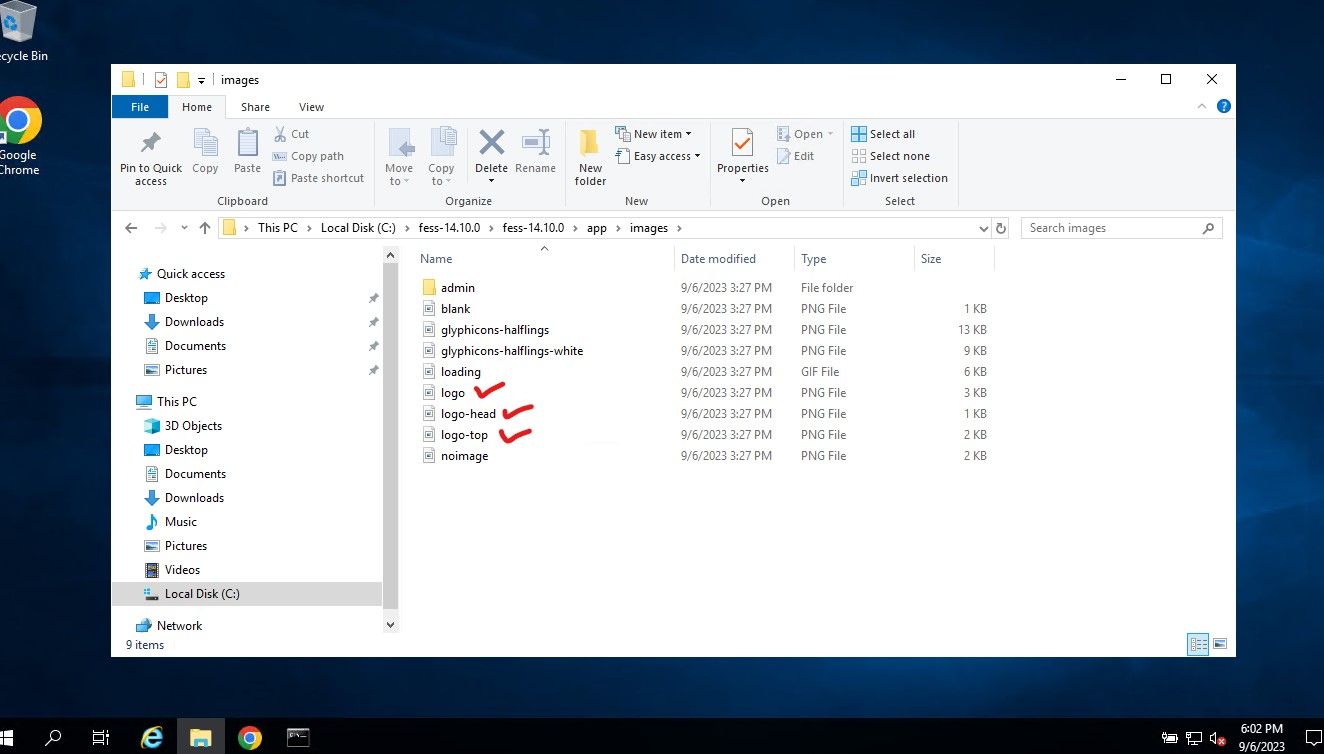
Final note, you can edit the main JSP index code for the main portal page via "System" and "Page Design". You also can replace the default logo images by simple creating your own PNG files and renaming them and placing them in the respective folder. Which is "C:\FESSxxxx\app\images" directory.
Also, by default FESS respects the robot.txt file directives on what is allowed and disallowed to crawl. If you want to "be that guy" :) and tell FESS to disregard what the robot.txt file says, you can edit the config file located at:
C:\fess-14.10.0\app\WEB-INF\classes\fess_config.properties
Go to the section that says:
crawler.ignore.robots.txt=false
crawler.ignore.robots.tags=false
Then change to "true" and restart.
To finish up, there is a lot more functionality than I covered, in terms of labeling, and tuning of the search algorithm and results. FESS has a great site with great documentation. You can read up on their terminology and documentation via the link below.
Enjoy and God Bless
Dan